Spring 2024 ~ SpongeBob Squarepants at James Madison University
Costume Design by Kathleen Conery
Squidward’s Legs
For this process, I worked closely with the show designer (who is also my supervisor), Kathleen Conery, and the actor playing Squidward, John Sheldon, to construct the extra pair of legs on the back of Squidward’s body. We wanted at least a usable iteration of the legs to be ready for use in rehearsal as early as possible to allow John to have as much time to work with them as possible, especially in dance rehearsals. I came in to help jump-start work on the show a week before the semester, and as this was of high priority, I took over the project with guidance from my supervisor so she could focus on the rest of the show and her designs.
Kathleen had done extensive research before this point to prepare for construction, looking at other productions and how they built their legs as inspiration for ours. After explaining the basic premise of the construction, she let me loose to work on and construct the legs by myself. I successfully completed the primary build of the legs and shoes within the first week of rehearsals, just in time for dance rehearsals to start.
There were a few minor alterations and repairs needed throughout the course of the show, but other than that the original build ended up being the final product, which was very exciting. My supervisor and I collaborated on troubleshooting at various parts of the process, but I was the only person who did physical work on the legs as I was the person who knew the most about how they were constructed.

THE BONES

My supervisor handed me some dowel rods, hinges, and a drill and set me loose for a few hours.
The first step was to cut the dowel rods to the length of the actor’s thighs and shins, respectively; then install the hinges at the knees. I created the feet by tracing the actor’s foot on a piece of scrap wide-length PVC pipe to emulate the curvature of the foot. As you can see in the images, our scrap PVC was a bit shorter than the actor’s foot, but in the spirit of material use and conservation we decided that there was no reason that the shorter foot would impede functionality. (We found later that the shorter foot actually helped ease the process of changing shoes, which is a great outcome.) Hinges were again used to make a functional ankle joint.
The joints were then padded to limit range of mobility to more closely emulate the human leg and reduce metal noise.

I am the same approx. height/proportionality as the actor, so here I am modeling the "bones"
THE MUSCLE
The next step was to take the actor’s upper thigh circumference, lower thigh circumference, knee circumference, calf circumference, and ankle circumference measurements to make the fake legs as close to the real legs as possible. I took these measurements and traced them out of foam to create the outer shells of the legs. (One thing I realized after the fact was that I failed to consider the width of the foam in my measurements, so they’re not an exact replica of the actor’s legs; however the difference was inconsequential for our purposes.)
I then took some extra stuffing and batting to fill the space in between the dowel and the foam, making sure the foam was equidistant around the dowel whenever possible.
Additionally, I took some of the scrap foam and added it to the feet, securing it with a sock.

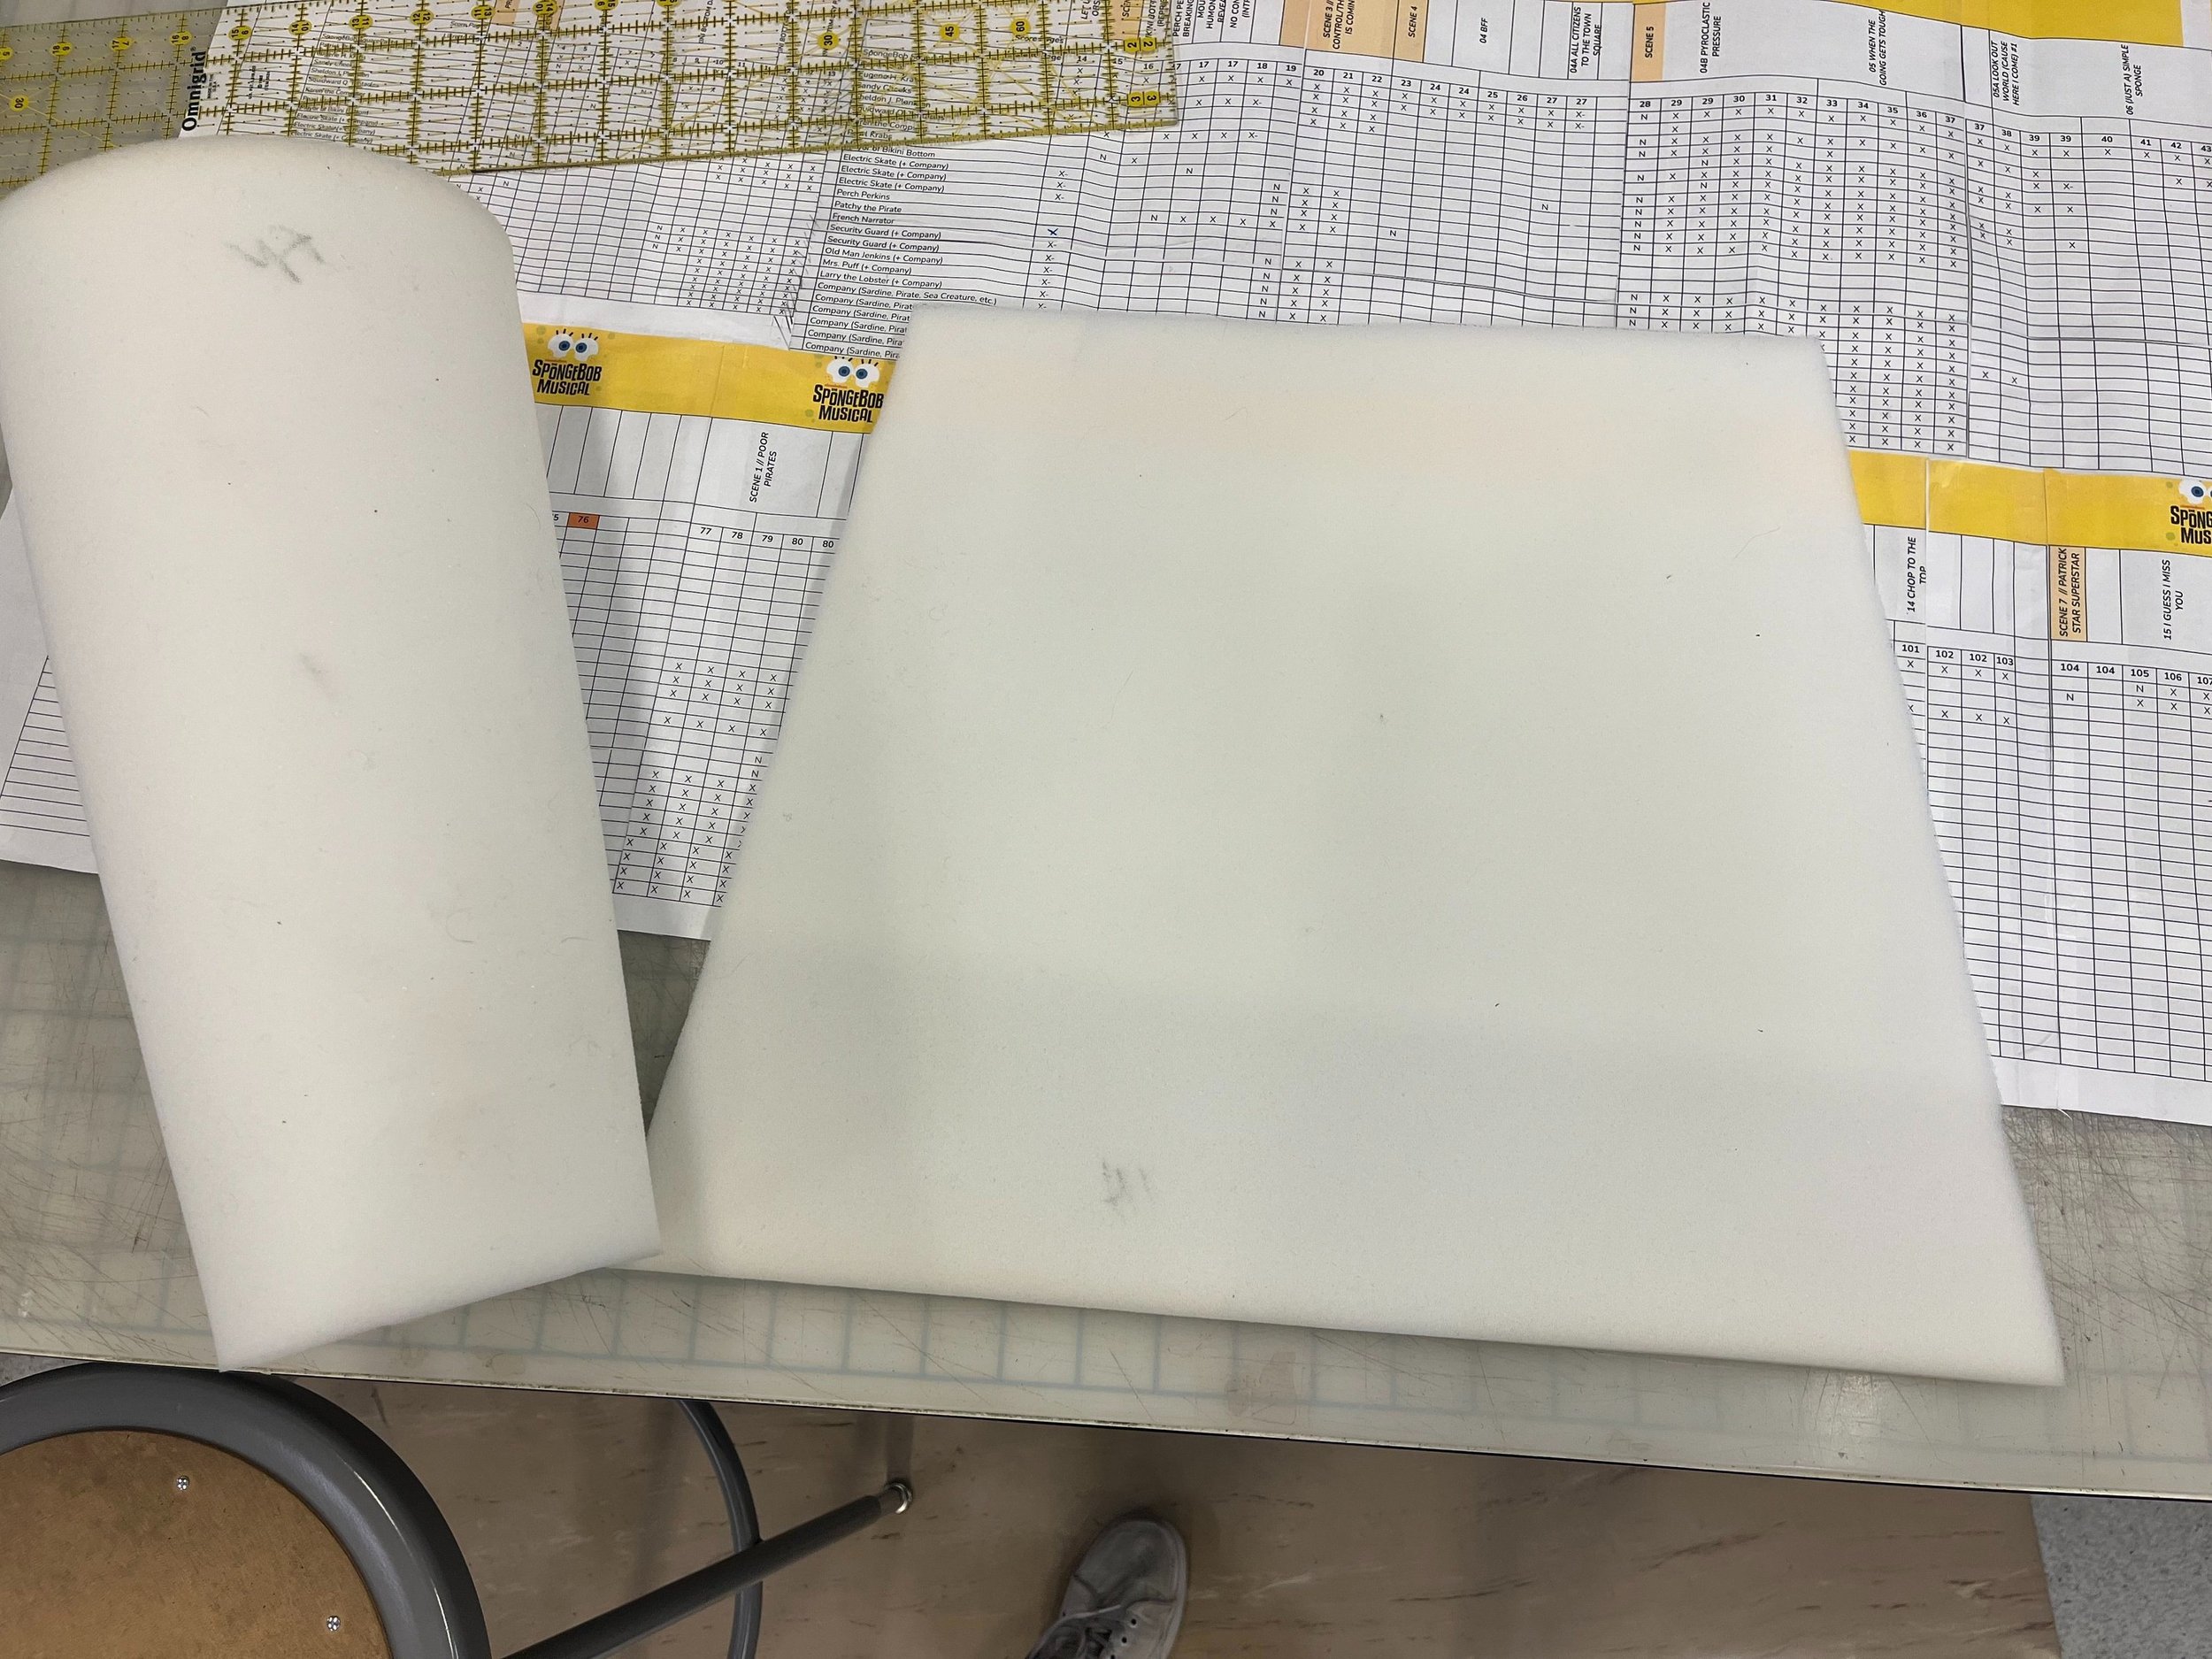
Right - the calves, one sewn together, one flat
Below - the thighs, one sewn together, one flat


THE SKIN

I then took some scrap fabric to cover the foam and openings to secure the stuffing. (We have plenty of scrap fabric in the shop so as a little easter egg I found something reminiscent of the actual color of Squidward’s legs :)
At first, the “muscles” were free-floating and moved around the leg a little bit as we didn’t want to secure anything too much before ensuring it worked. We later went in and stapled the fabric to the dowels (or skin to the bones if we want to continue this metaphor) to keep them more in place and keep the openings more closed.


THE FITTING
Our first (and surprisingly only) major fitting was to check the accuracy of proportions to the actor’s legs and measure where the legs needed to fall on the under layer. We were originally going to use compression gym shorts for the under layer, but for time purposes decided to go with a pair of tight-fitting jeans we had in stock that we later cut into shorts.
The legs were attached by pieces of a old leather belt from our stock. It was screwed into the dowel on one side and sewn onto the jeans on the other. About halfway through the rehearsal process, these leather pieces wore out quite a bit and had to be replaced with some cording, which was a stronger alternative.

THE SHOES
AKA the bane of my existence for this project
Miraculously, I was able to find perfectly fitting shoes in our stock to use for this build. Two sets of shoes were needed - a normal “walking” pair and a pair with taps. For both sets, we used donated rubber tux shoes for the fake legs.
The shoes were connected with brackets on both the interior and exterior connection points of each pair. The first material was punched strapping, which eased the process of measuring and drilling the holes in the shoes as the holes in the metal were equidistant and pre-installed.
After a week or so, we found that the strapping was prone to breakage down the center. I replaced the strapping, doubling the layers this time, as well as installing a screw that connected the back of the fabric part of the heels together to provide more stability along the entire connection point of the shoes.
The strapping lasted a bit longer with the double layer and extra stability screw, but eventually wore down again. We brainstormed a bit and replaced them with pieces of steel, cut down to the size of the strapping. This proved to be a bit of a challenge, as the steel was significantly stronger than the strapping, thus harder to bend into the curved shape needed, but worked enormously well.


The steel lasted for about a month, but individual pieces started breaking right around tech week. We didn’t have enough scraps of the original steel to replace all of the brackets, so we ended up buying more steel that was slightly thicker than the original, again creating issues in bending.
We didn’t have any more issues with breakage after that, but the combination of using the same screw holes for each iteration and the really strong steel created issues with screws pulling out of the shoes. This was something that I dealt with on a case-by-case basis during the week of the shows, making new holes to increase stability as needed. We also ended up using gaff tape to make the silver metal black to match the shoe soles (tape as opposed to paint because of the constant fixes), and just doubled and tripled up on layers of tape for more stability. We got through show week with only a few shoe issues and were able to solve them in a timely and safe manner.
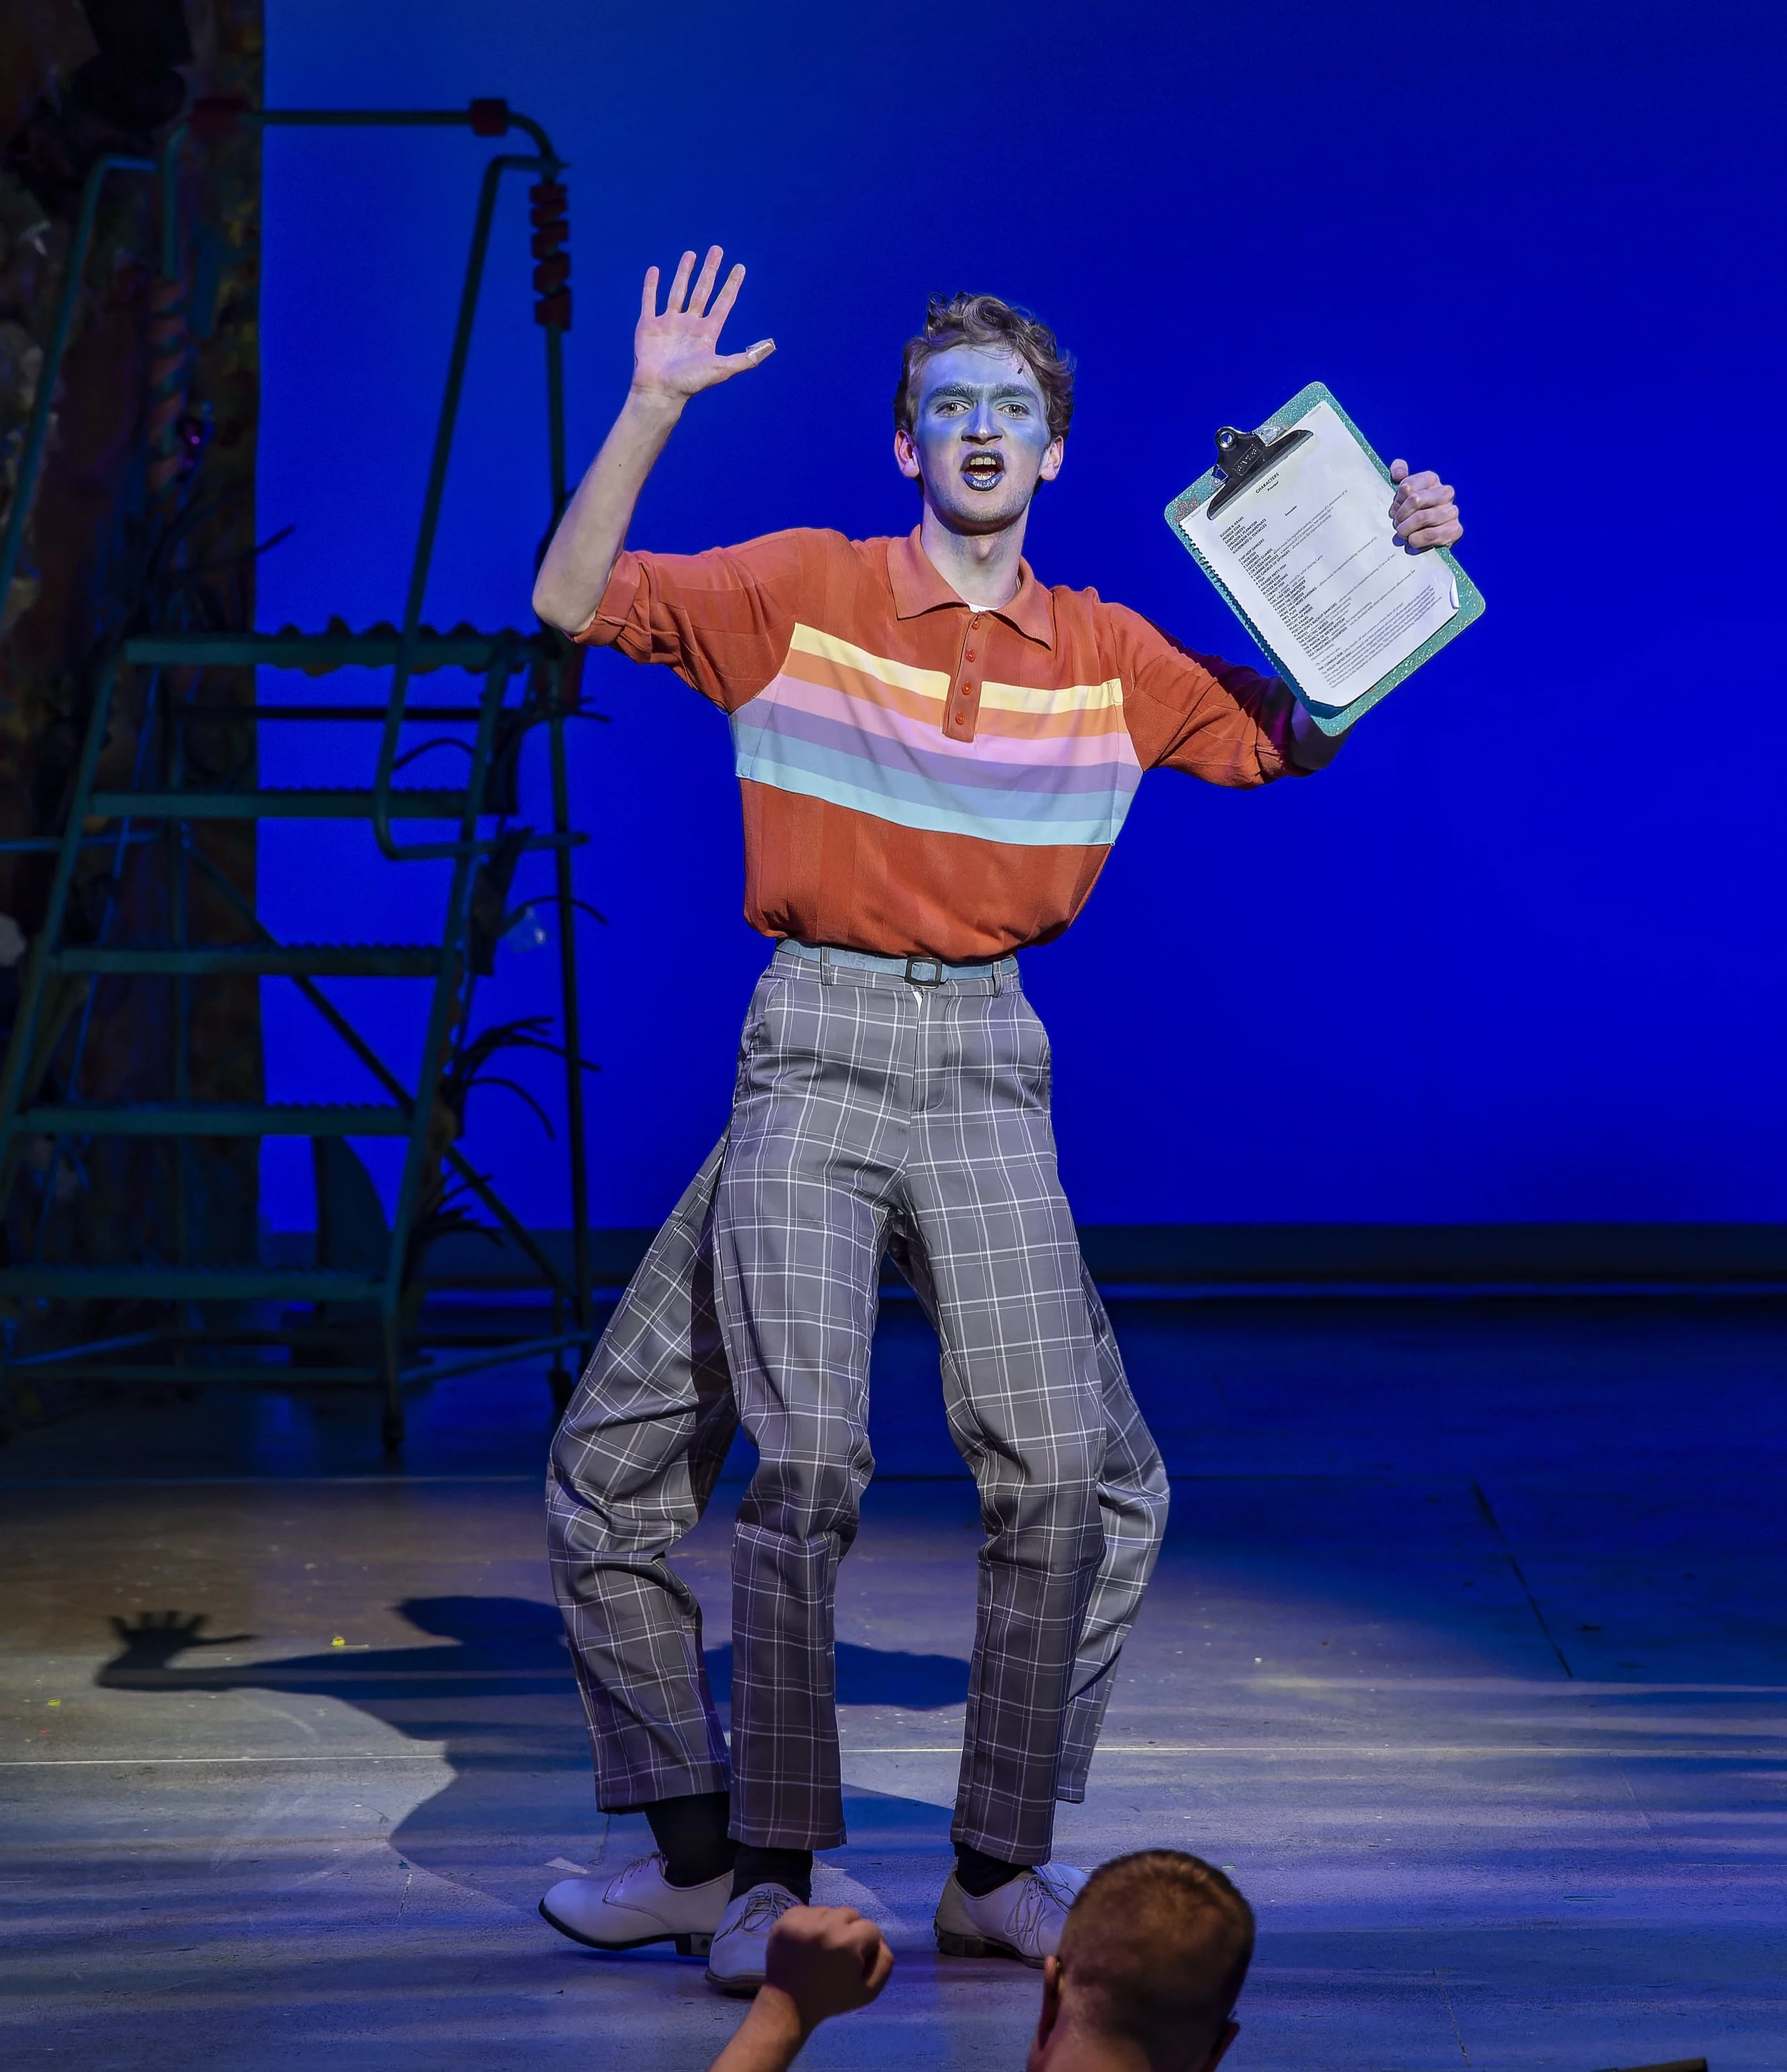
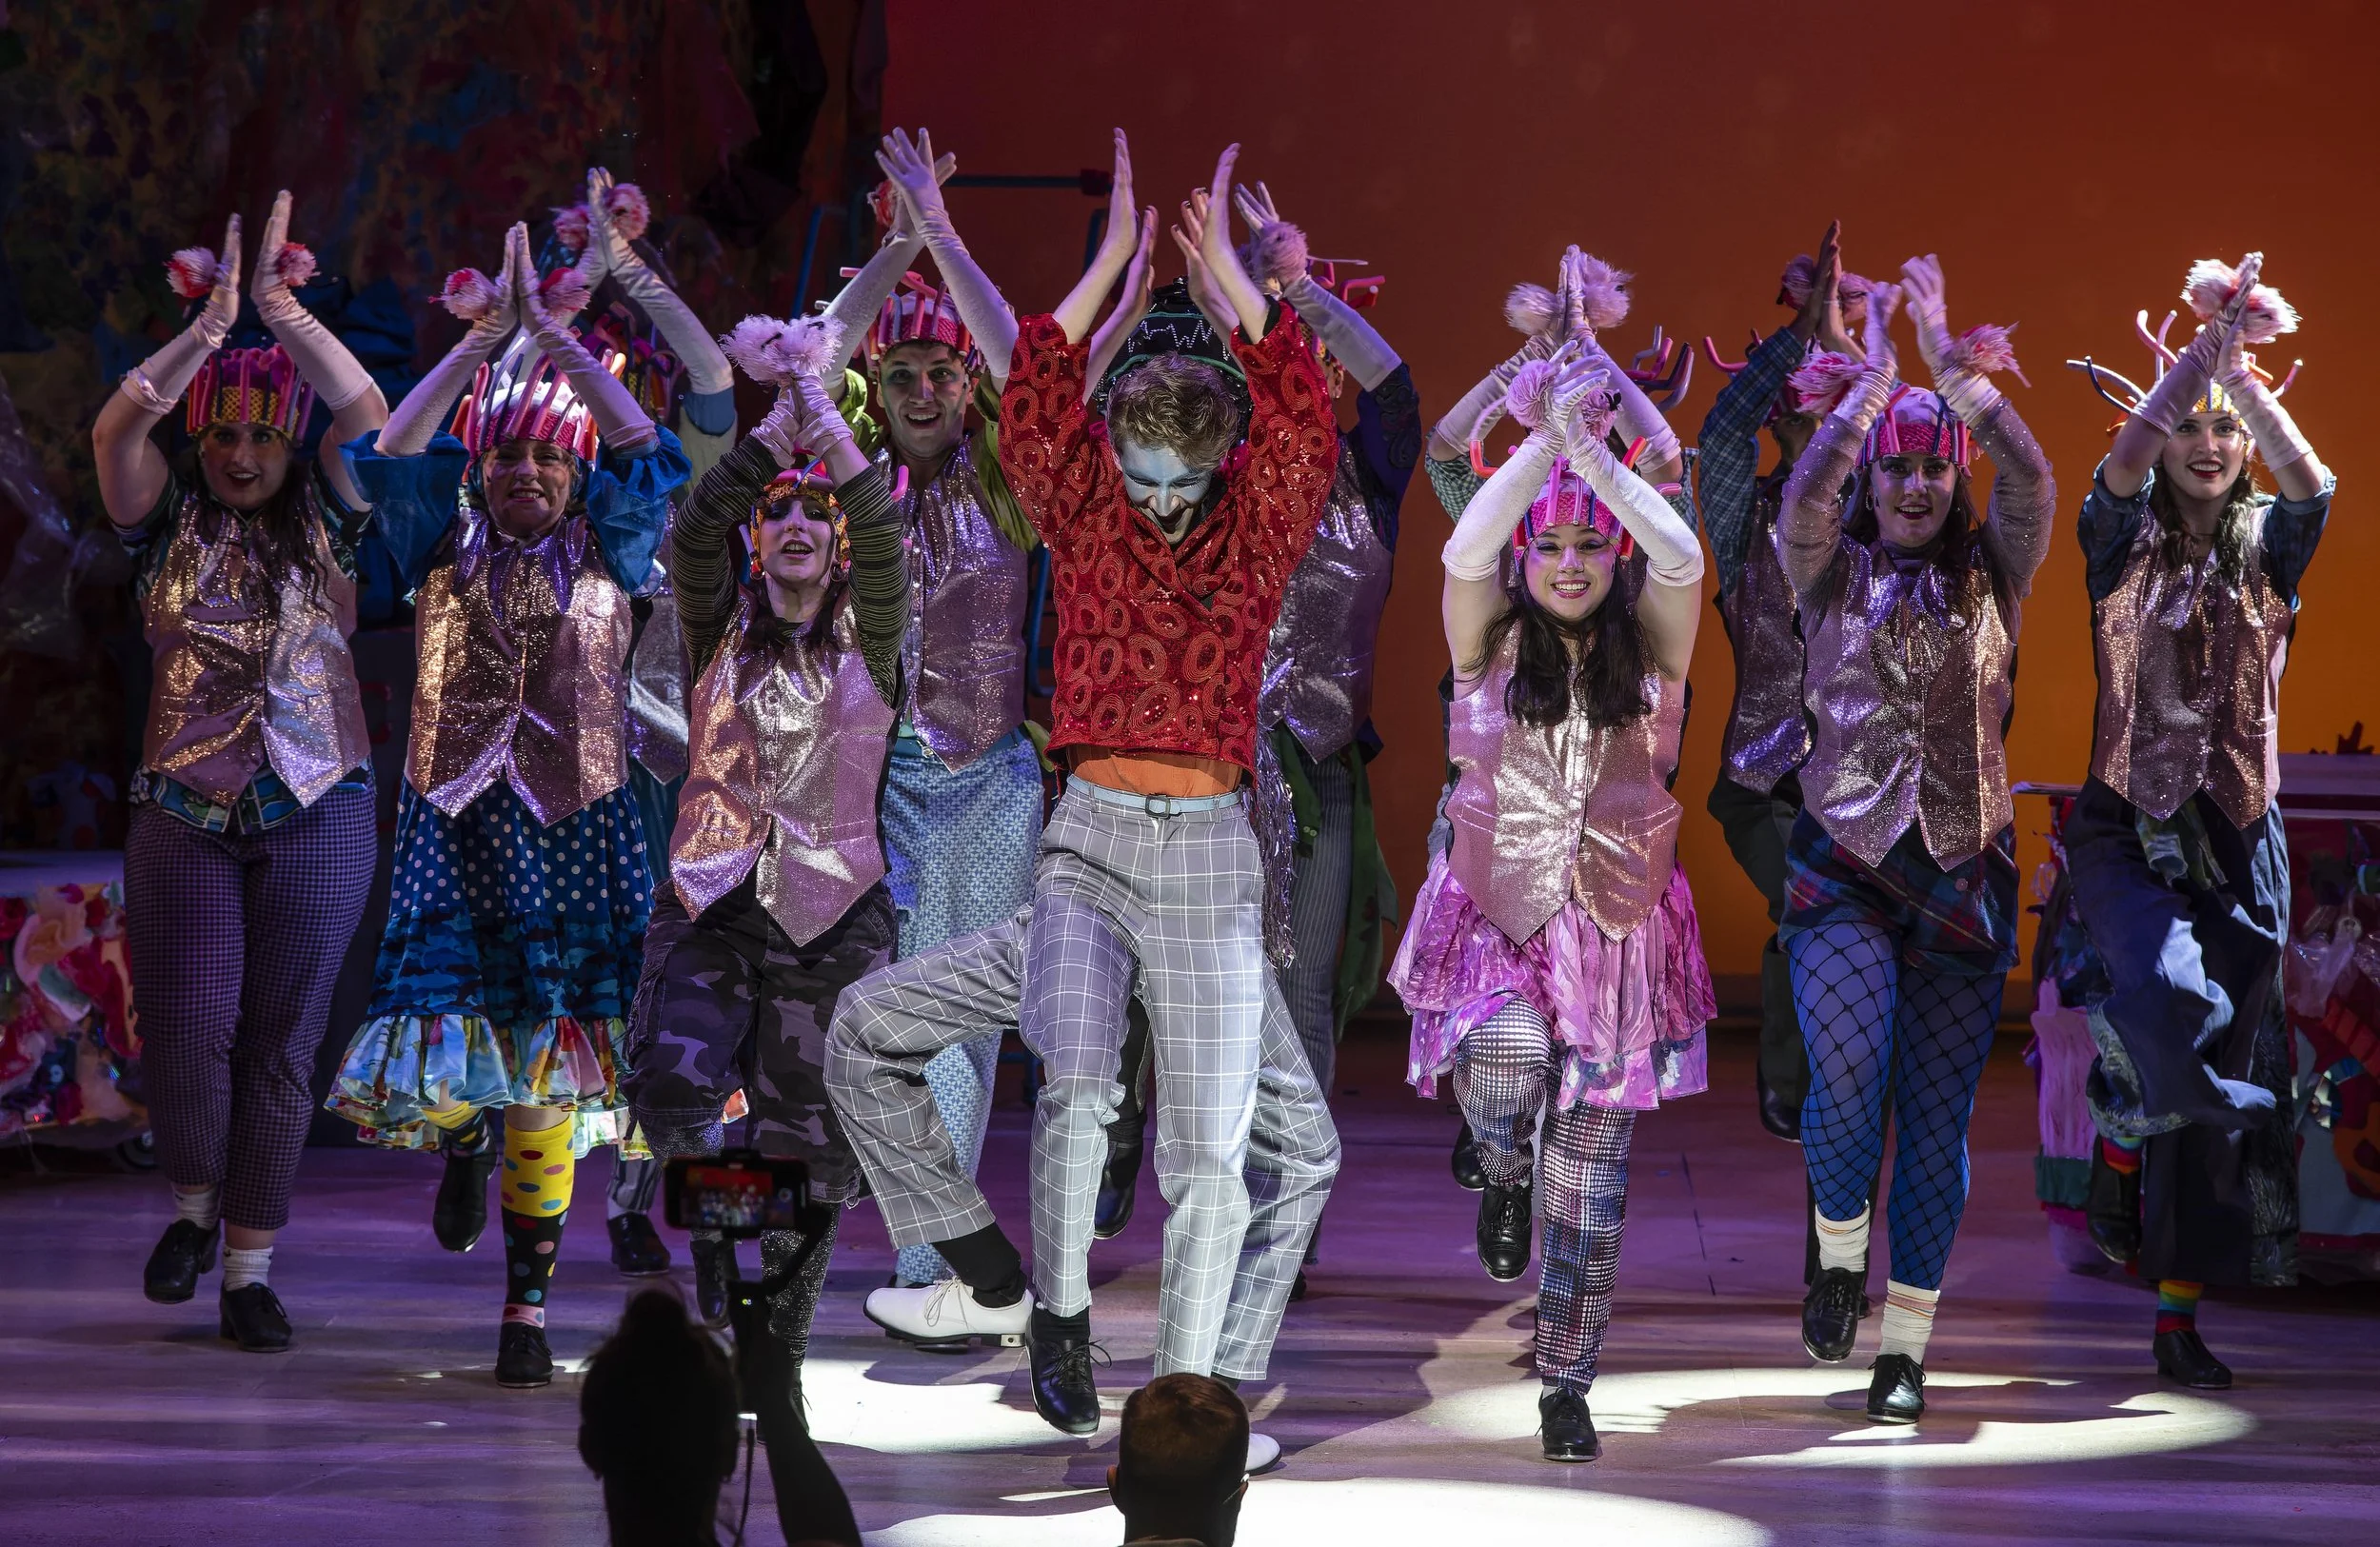
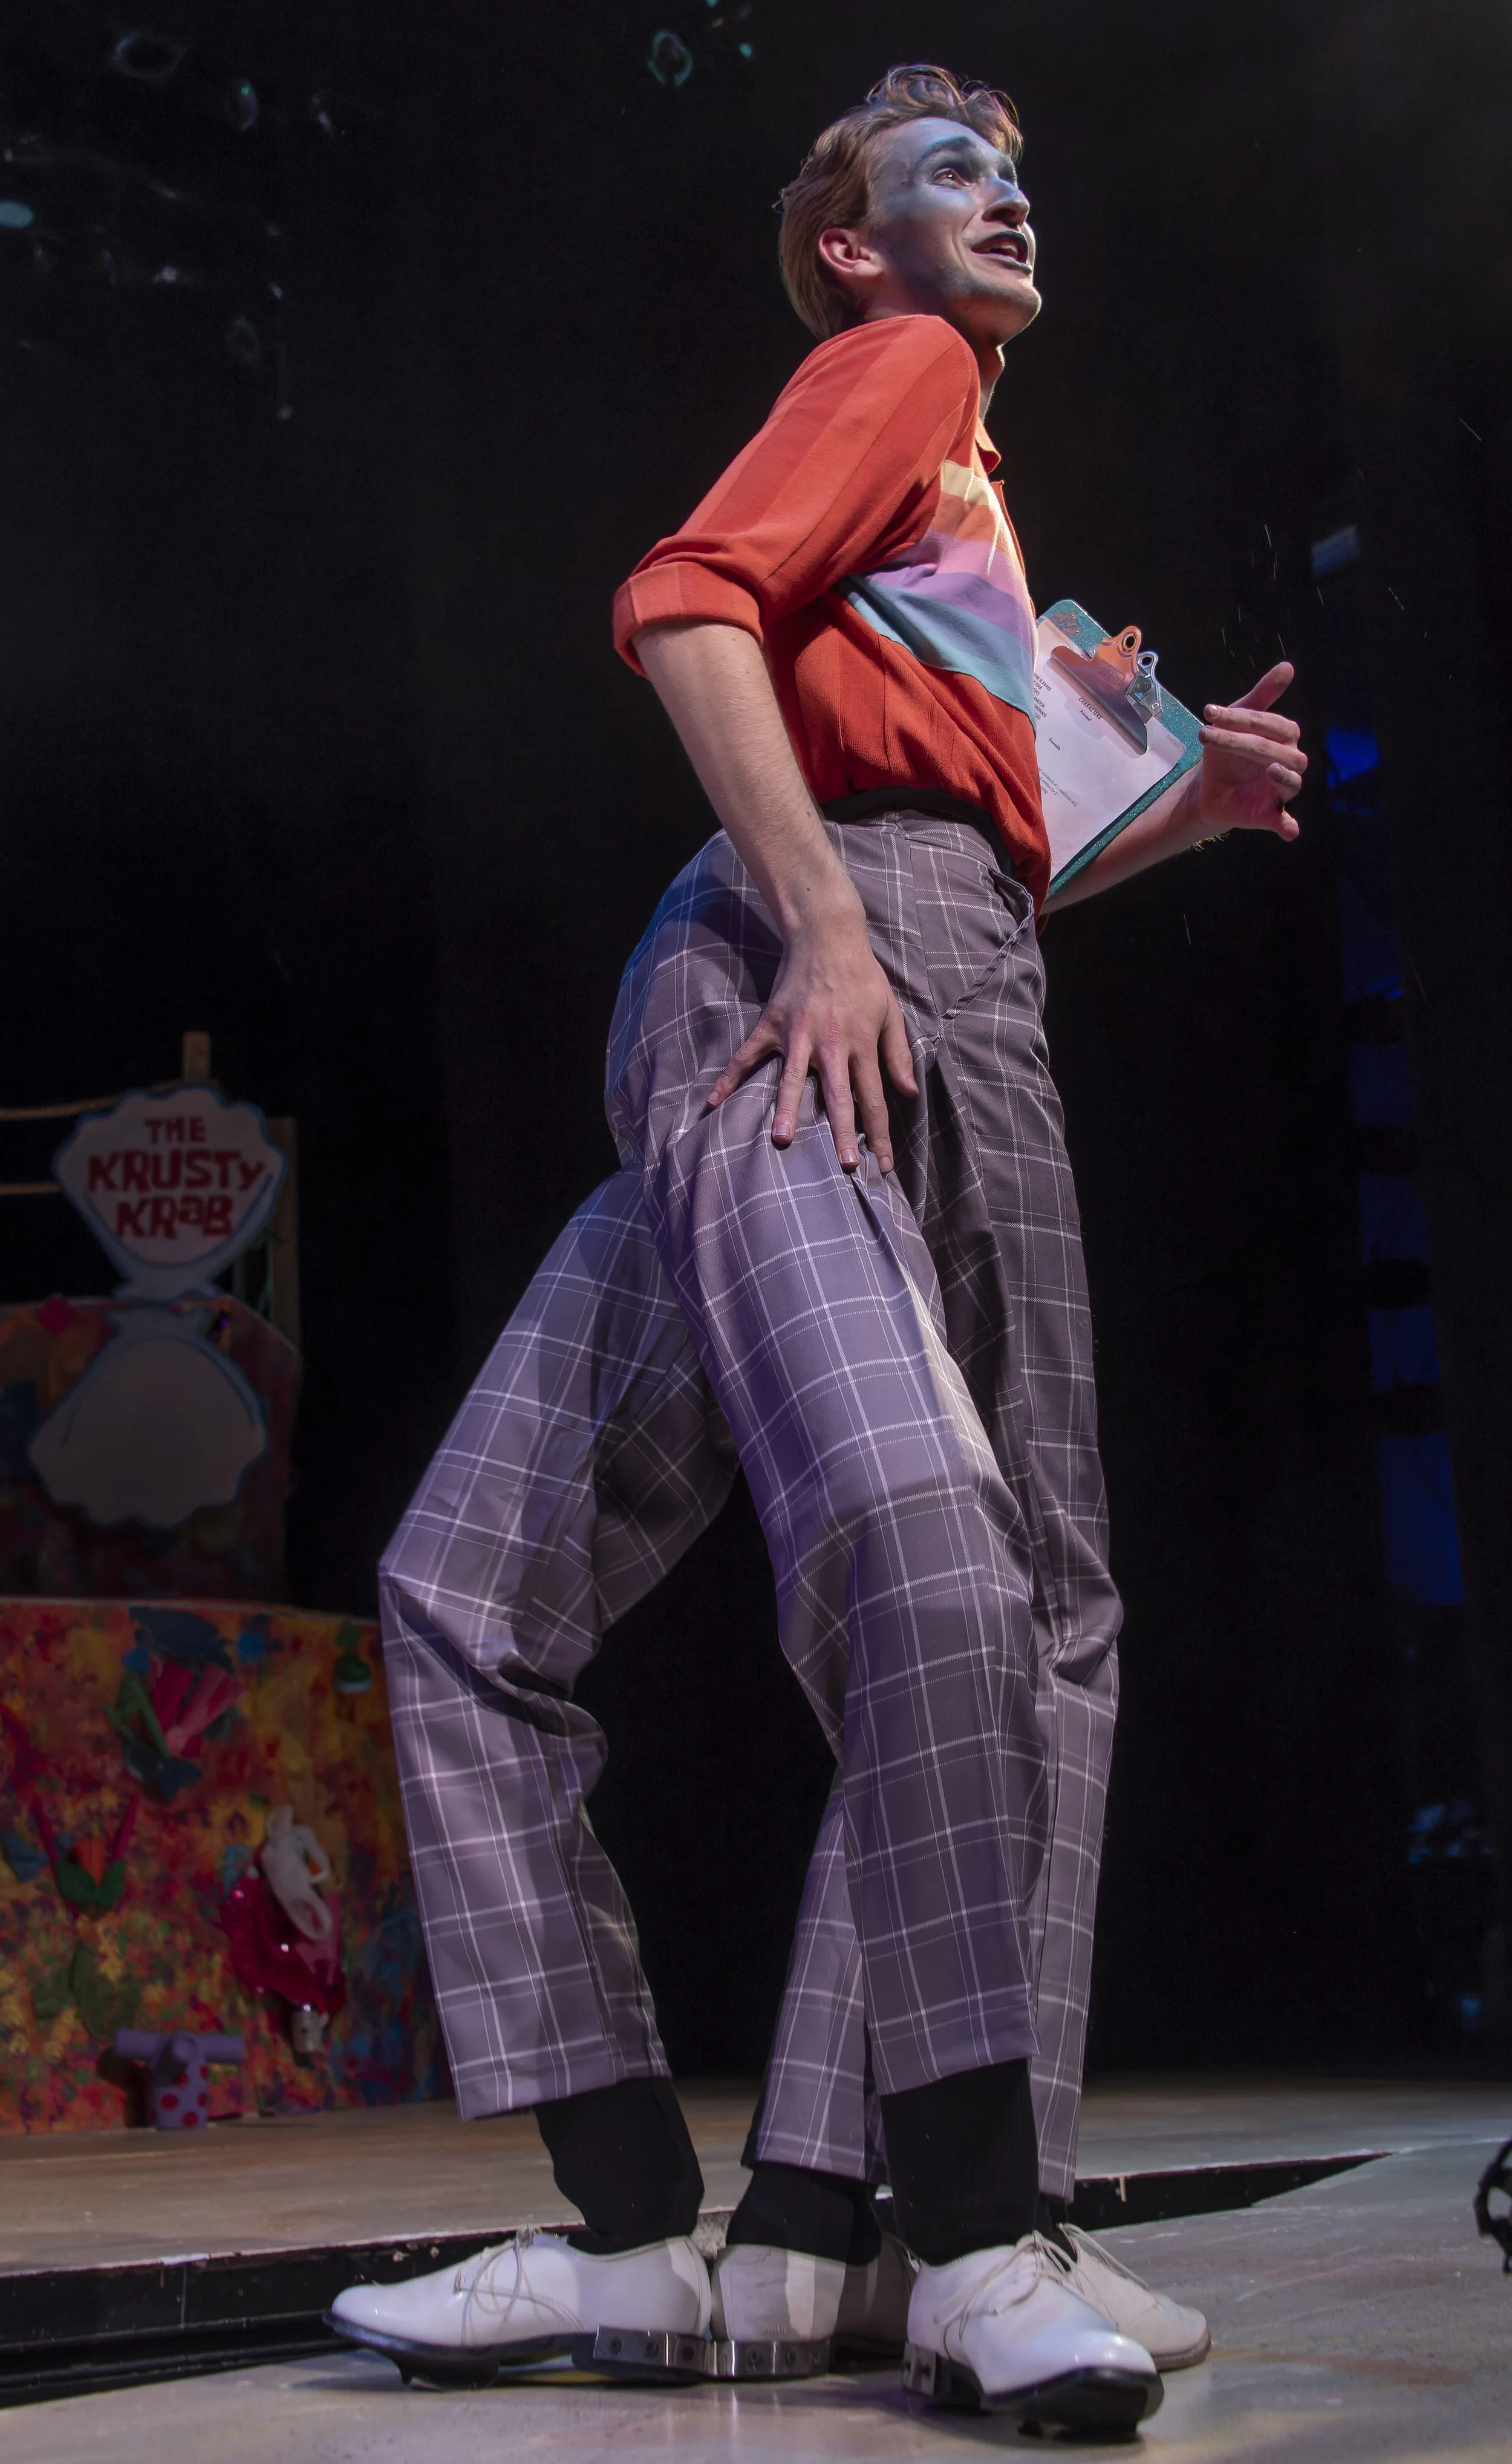
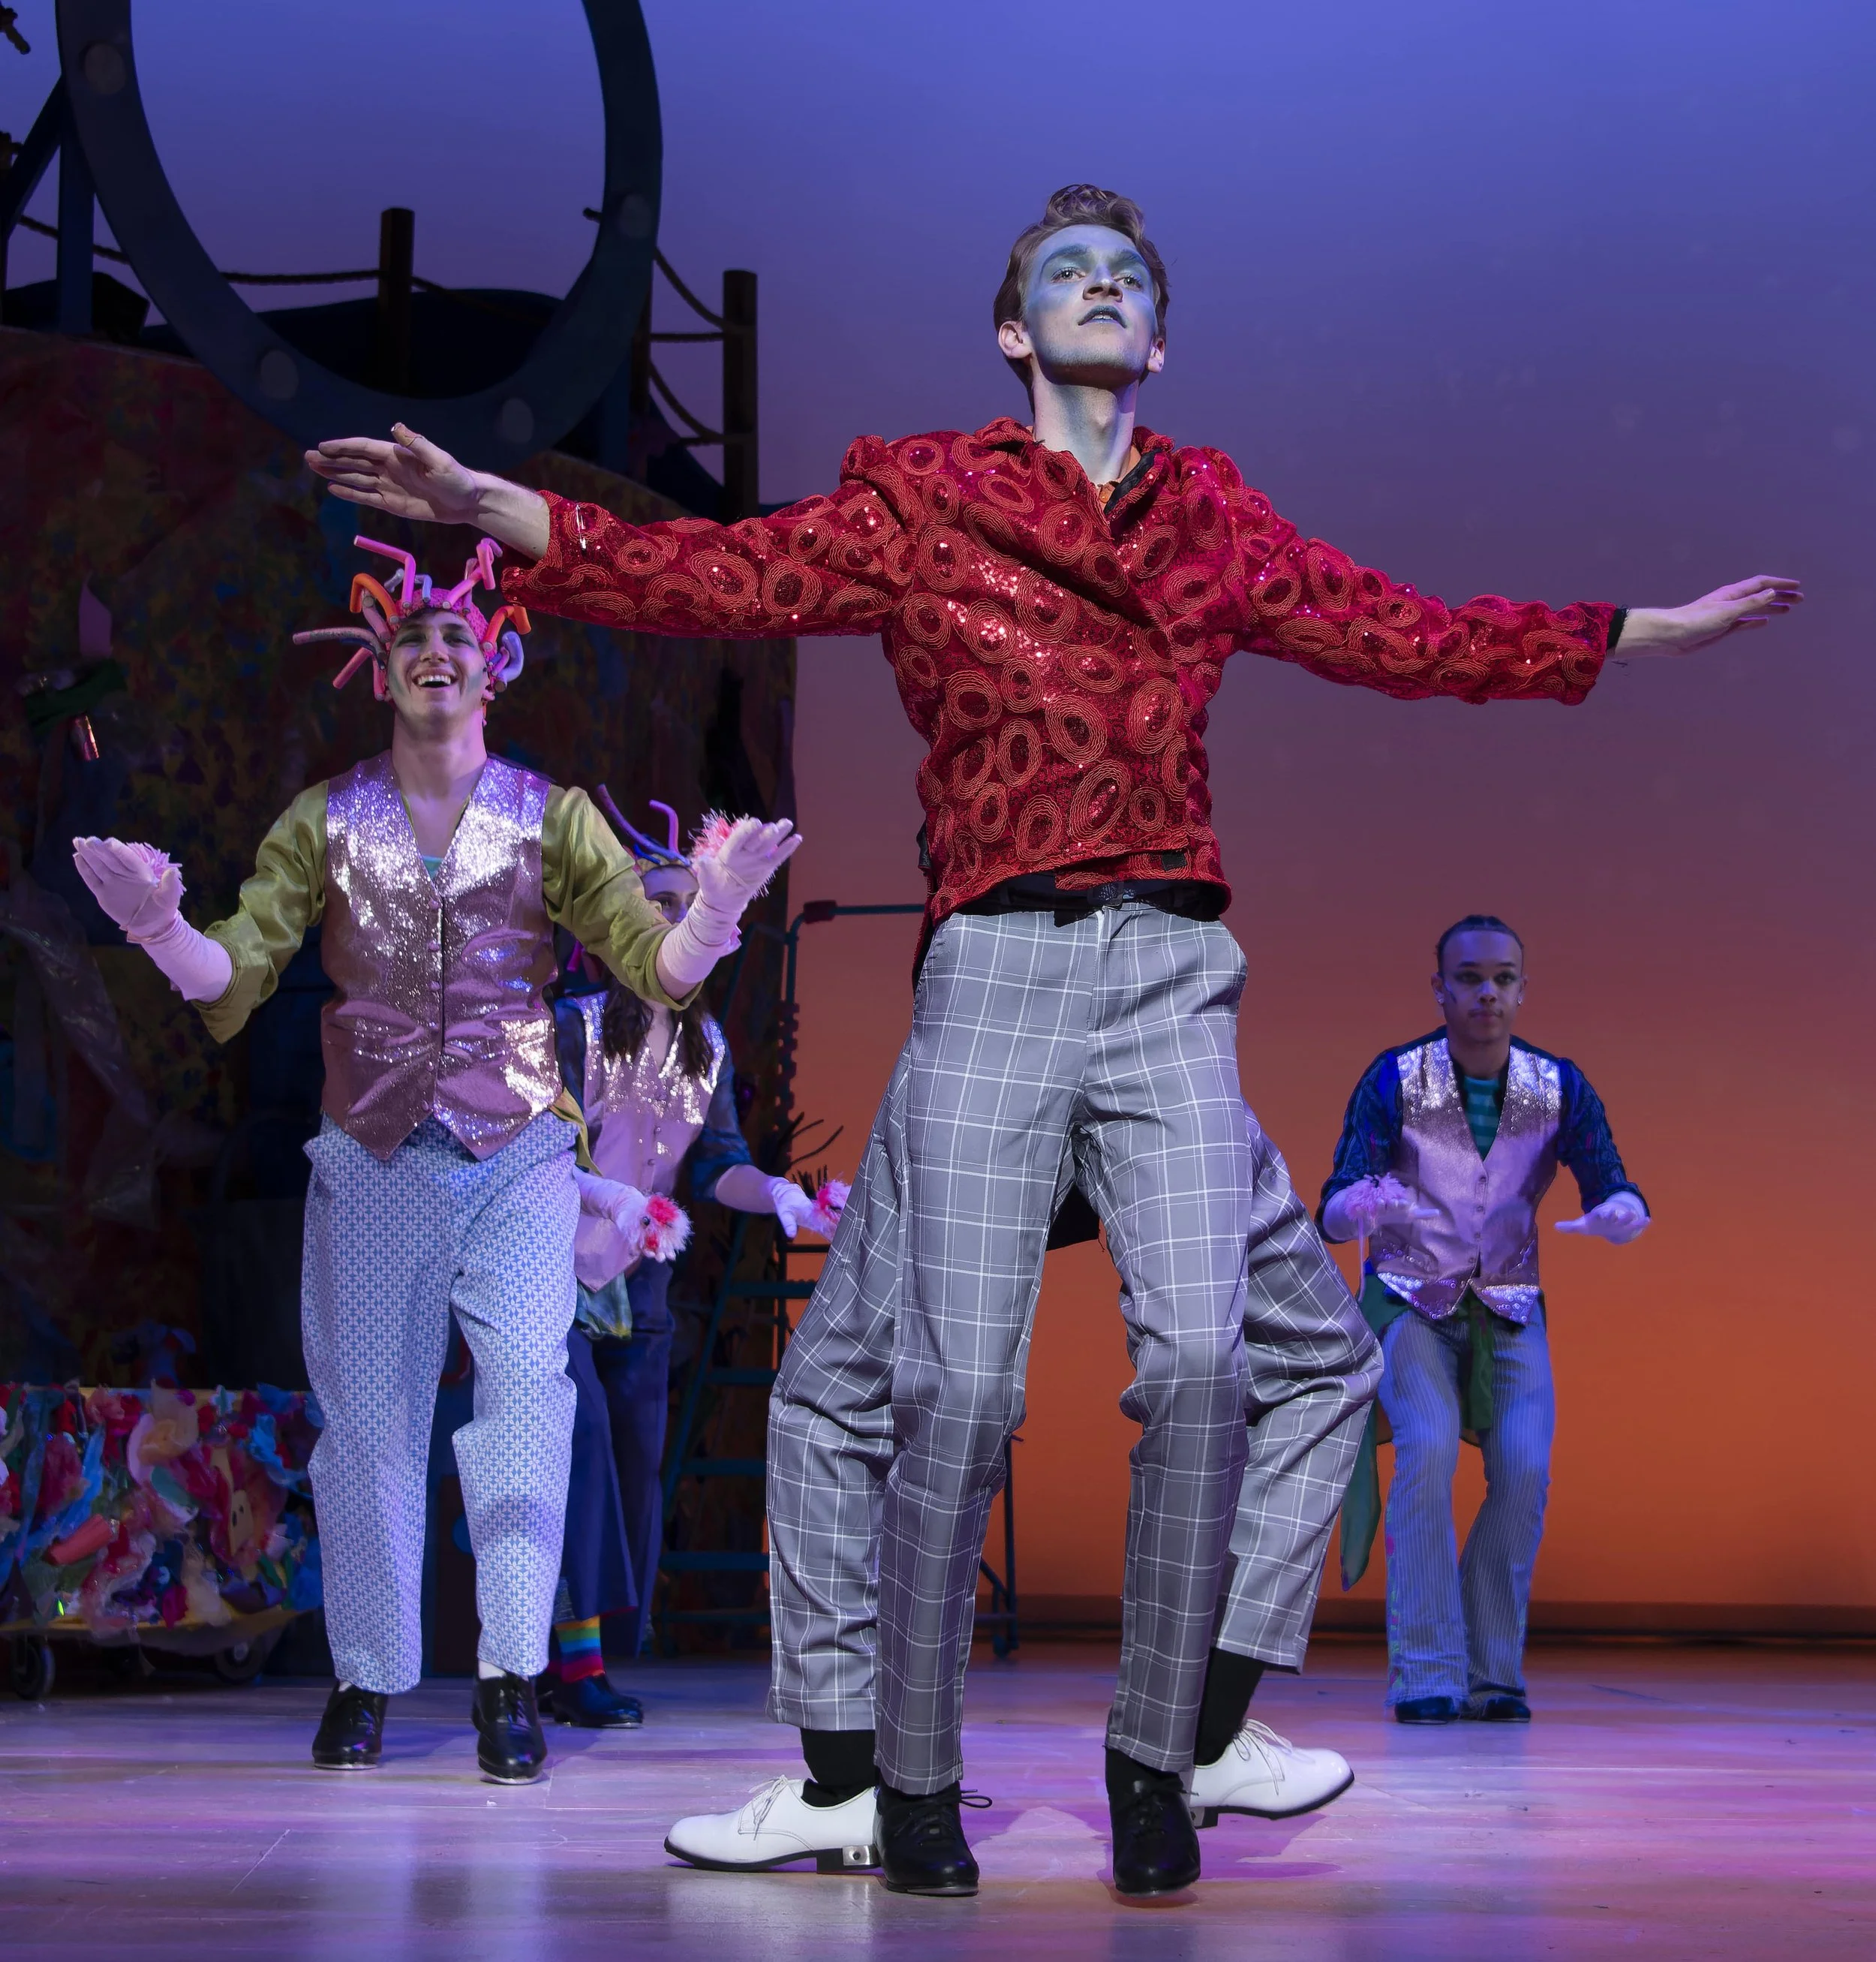
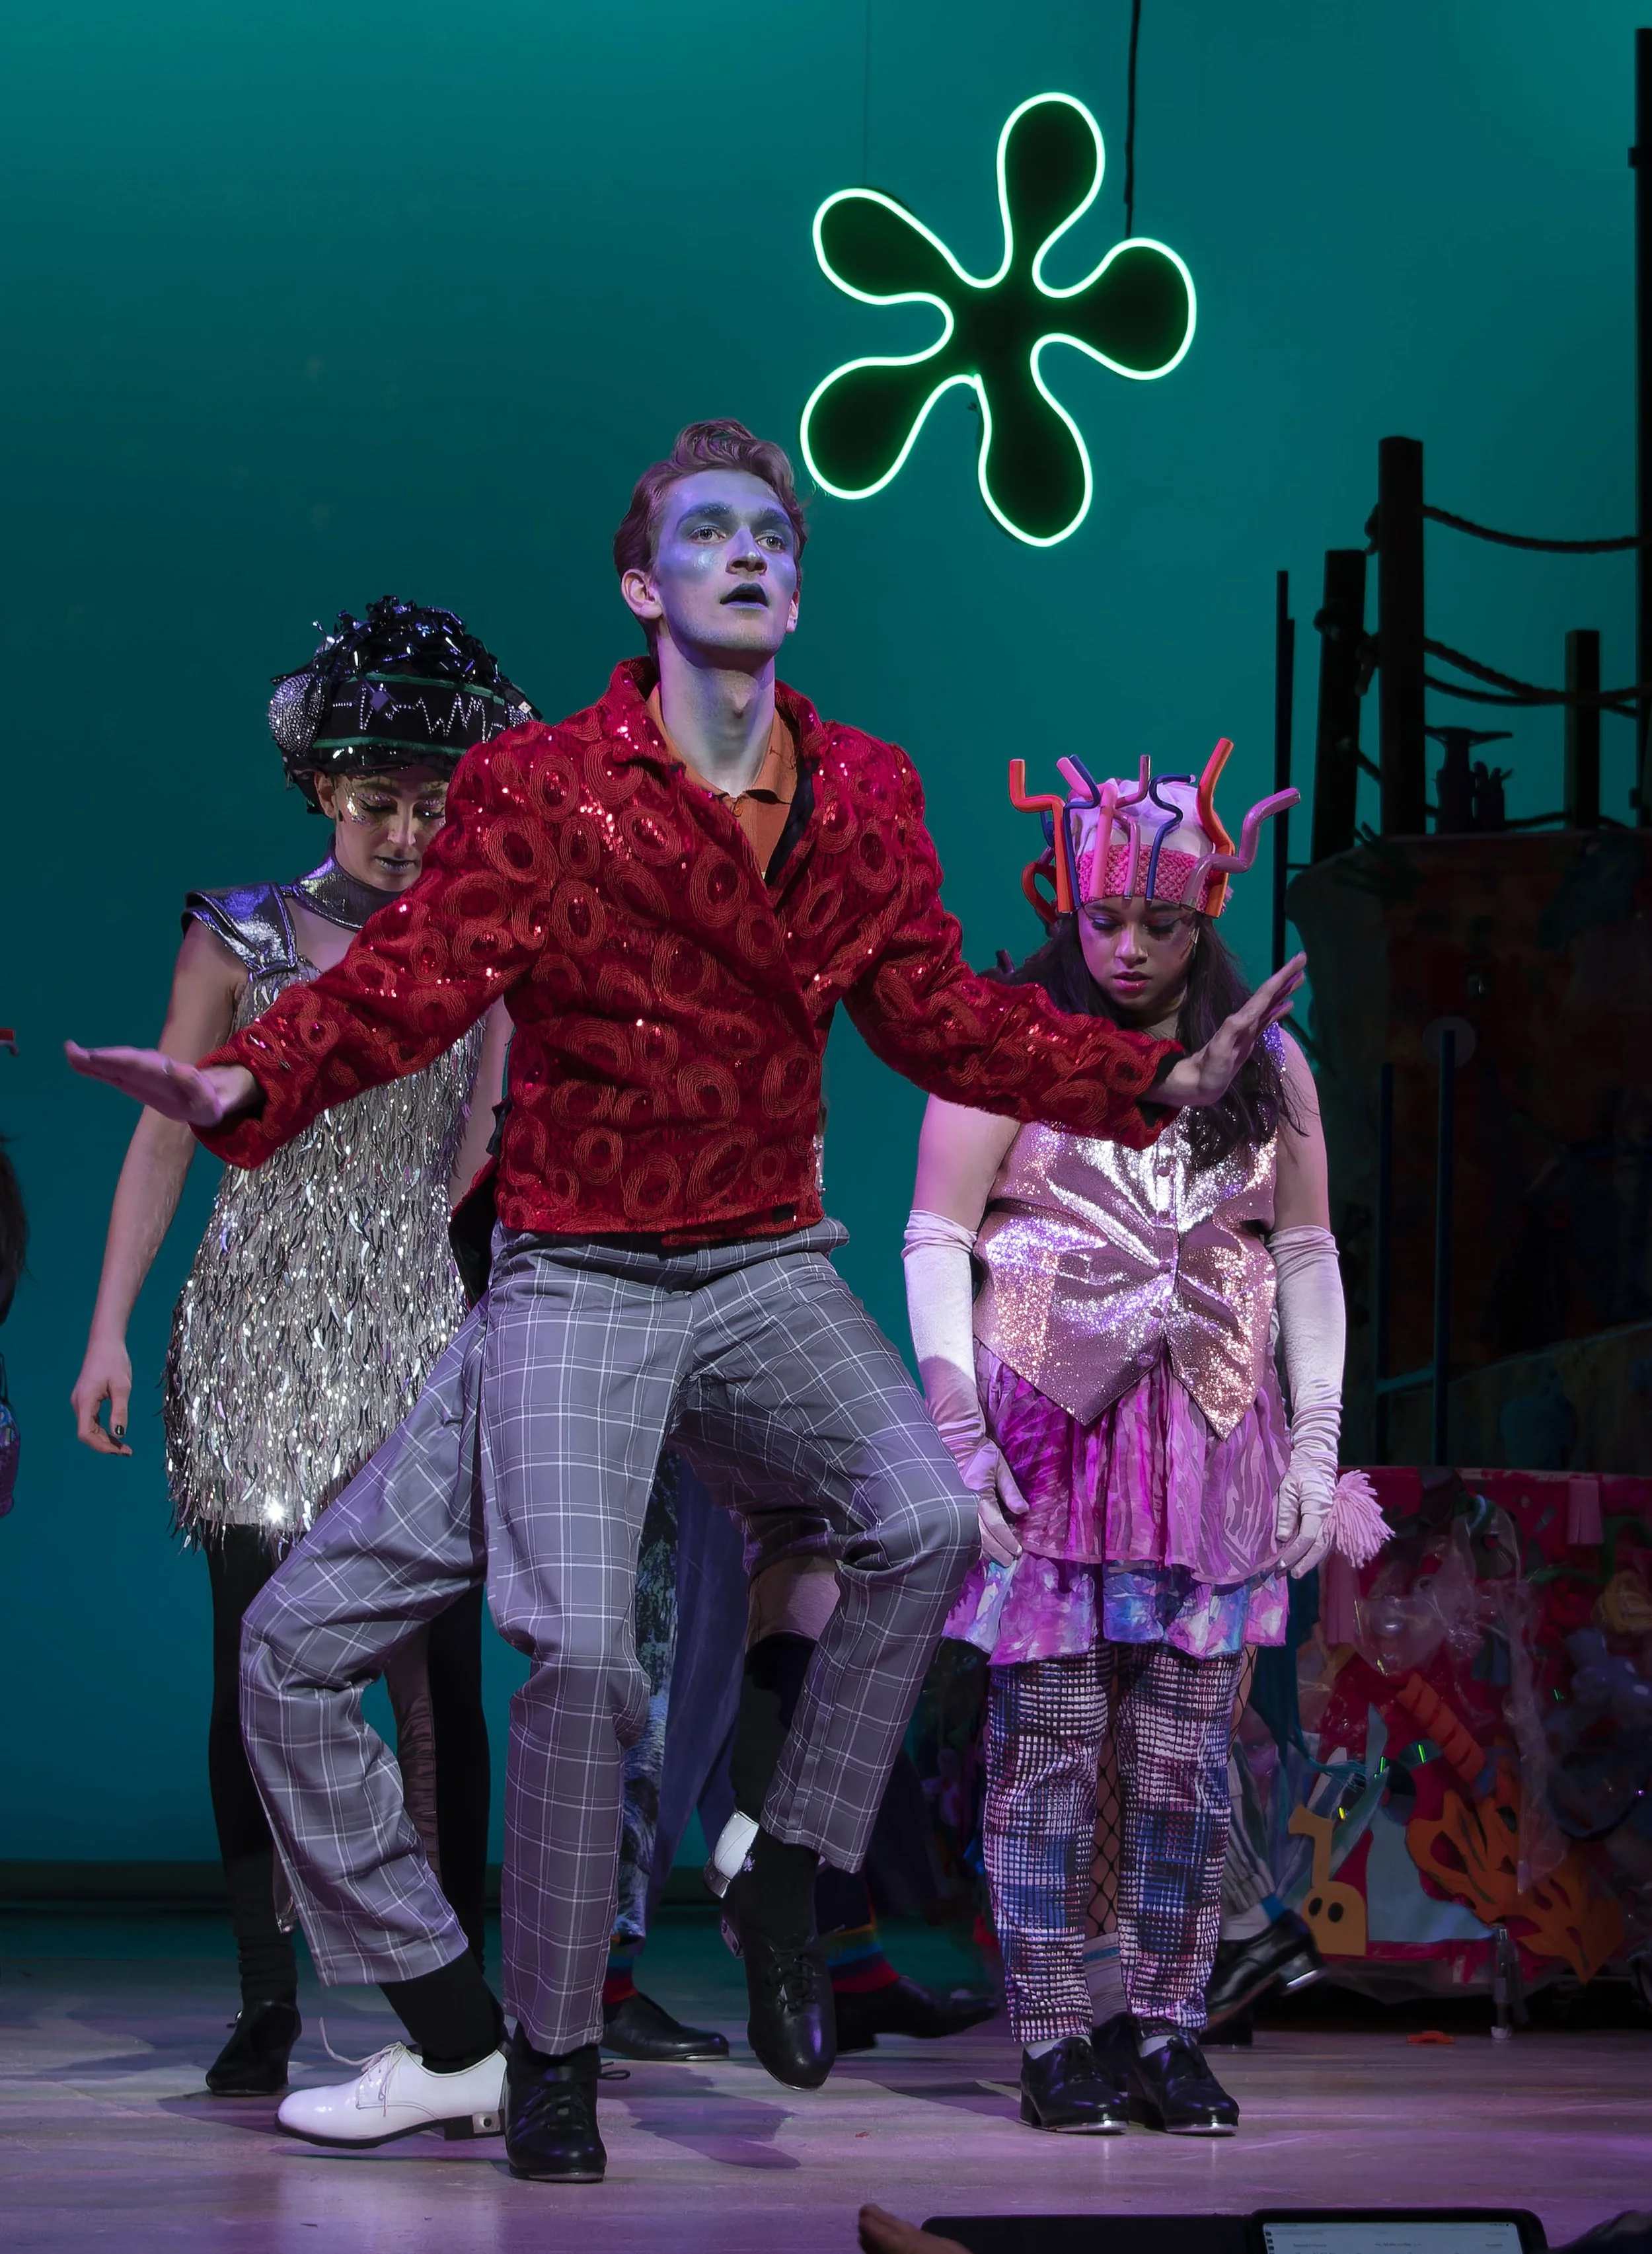
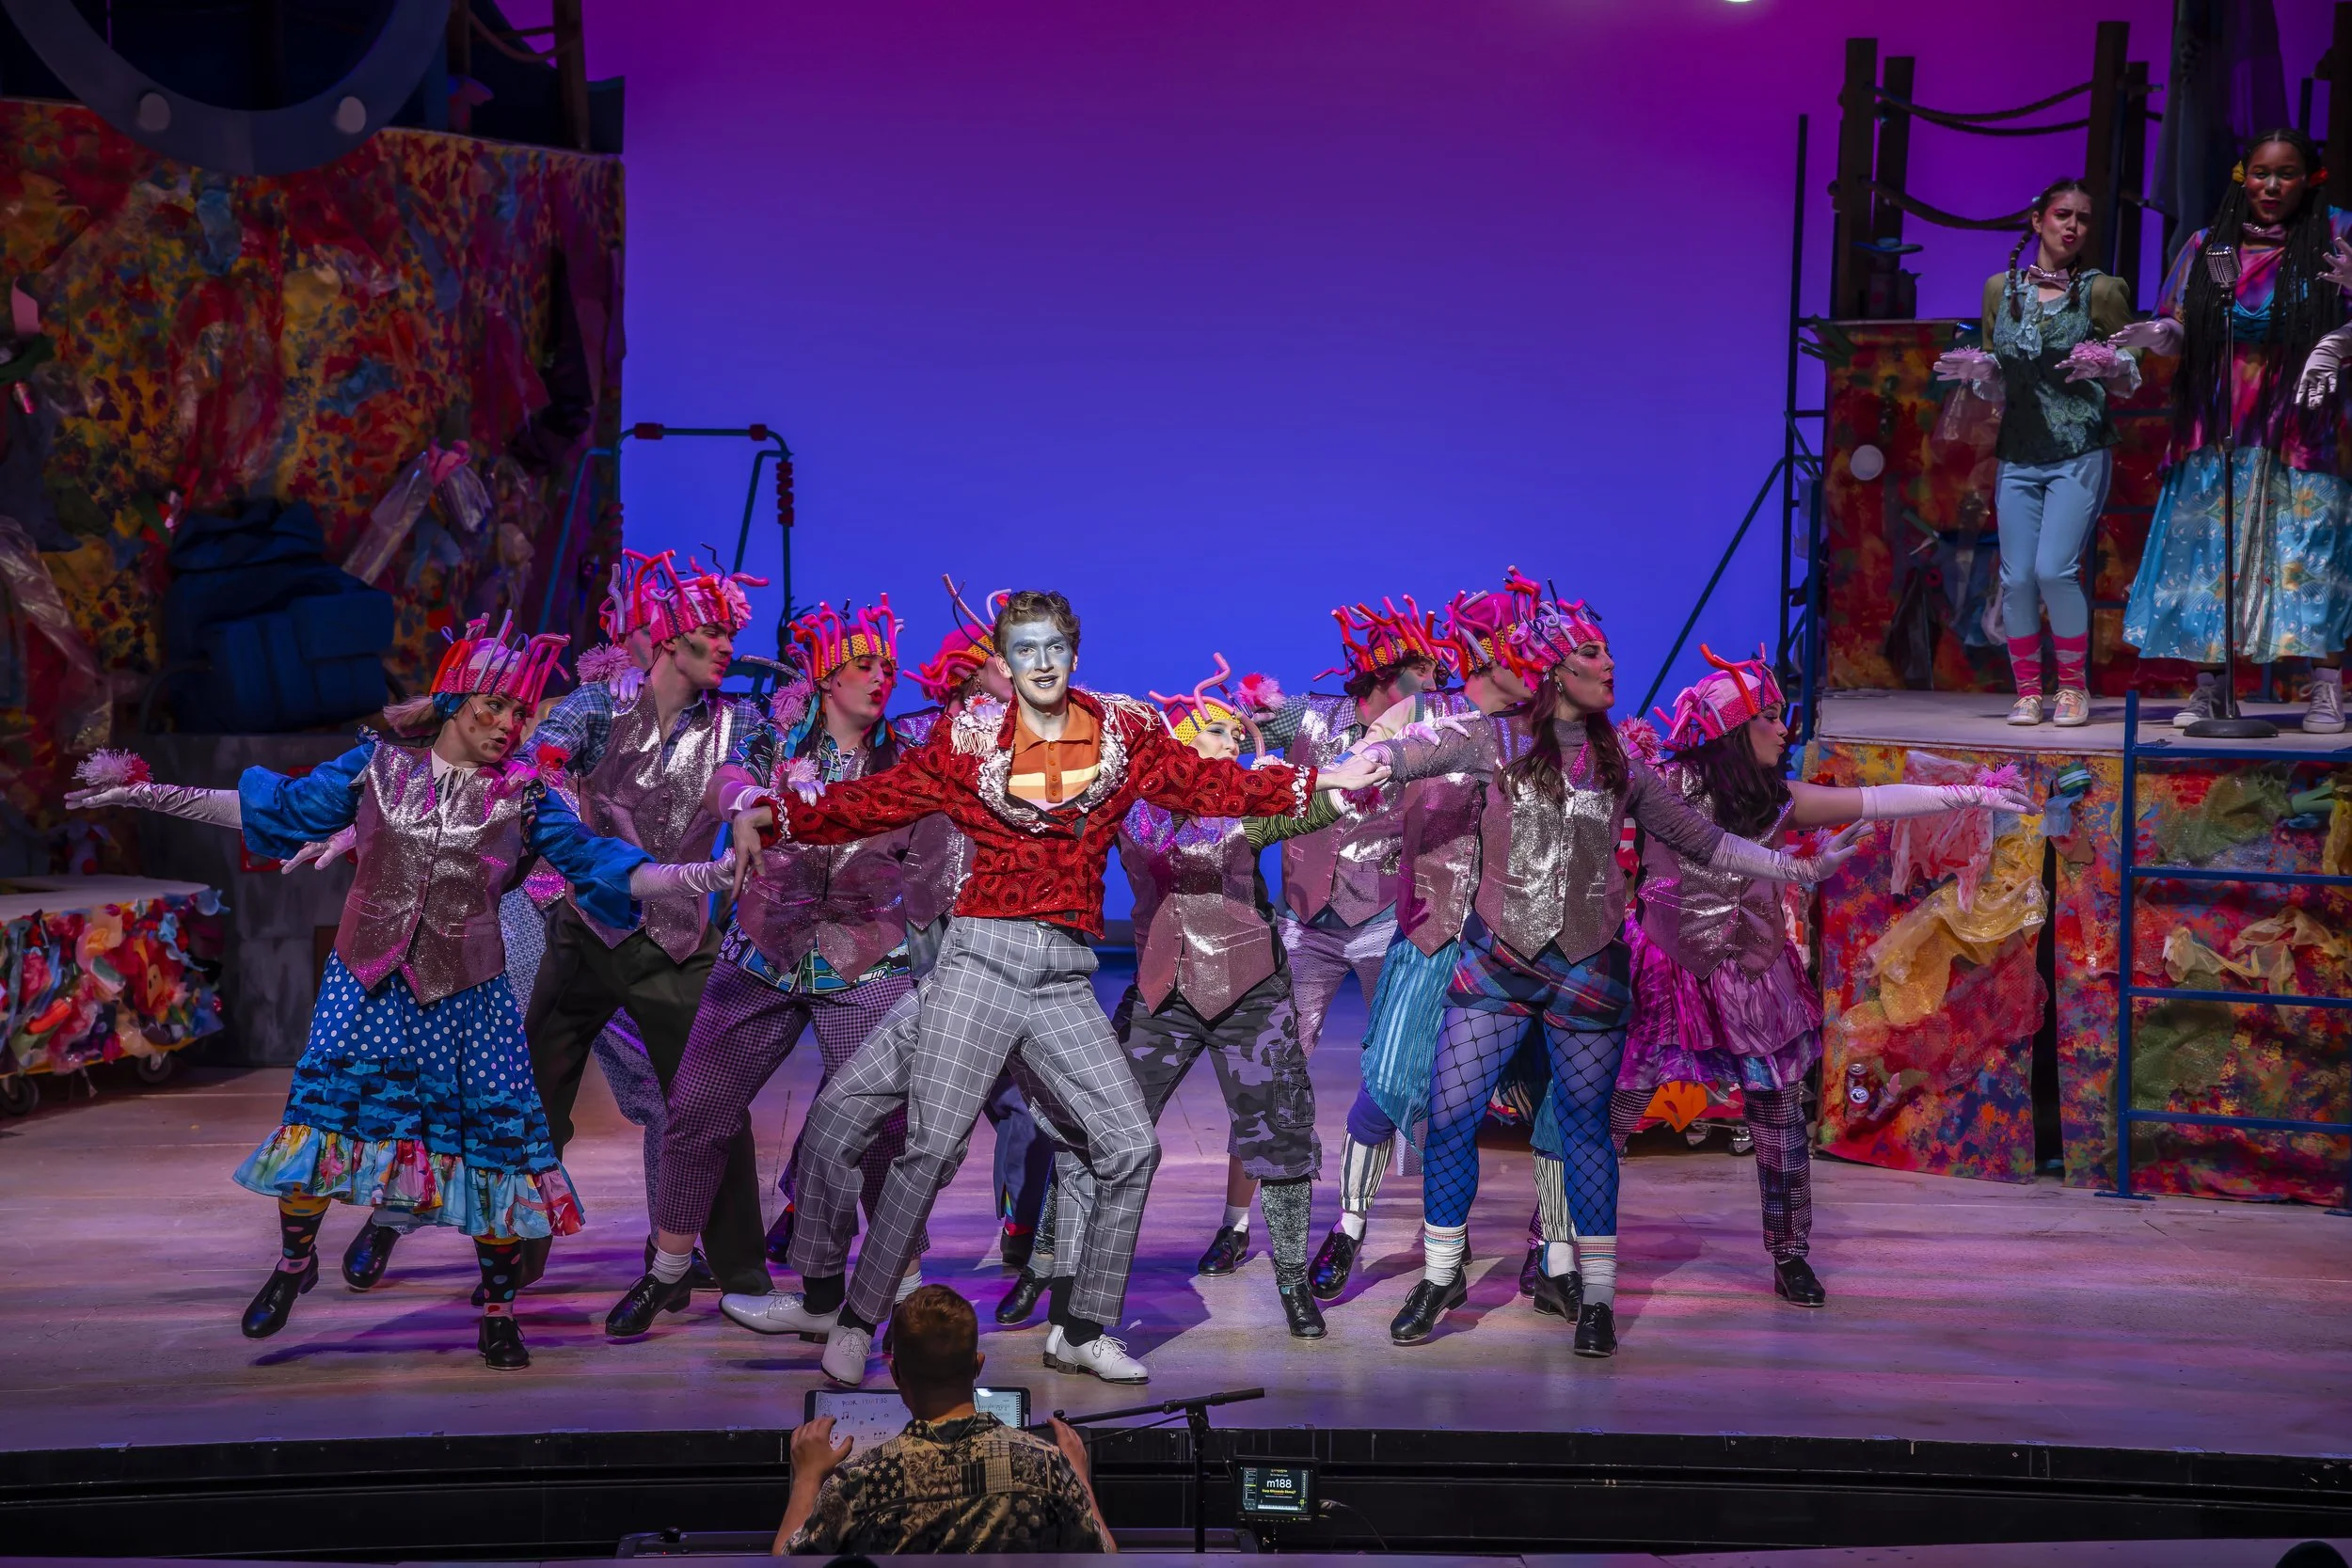
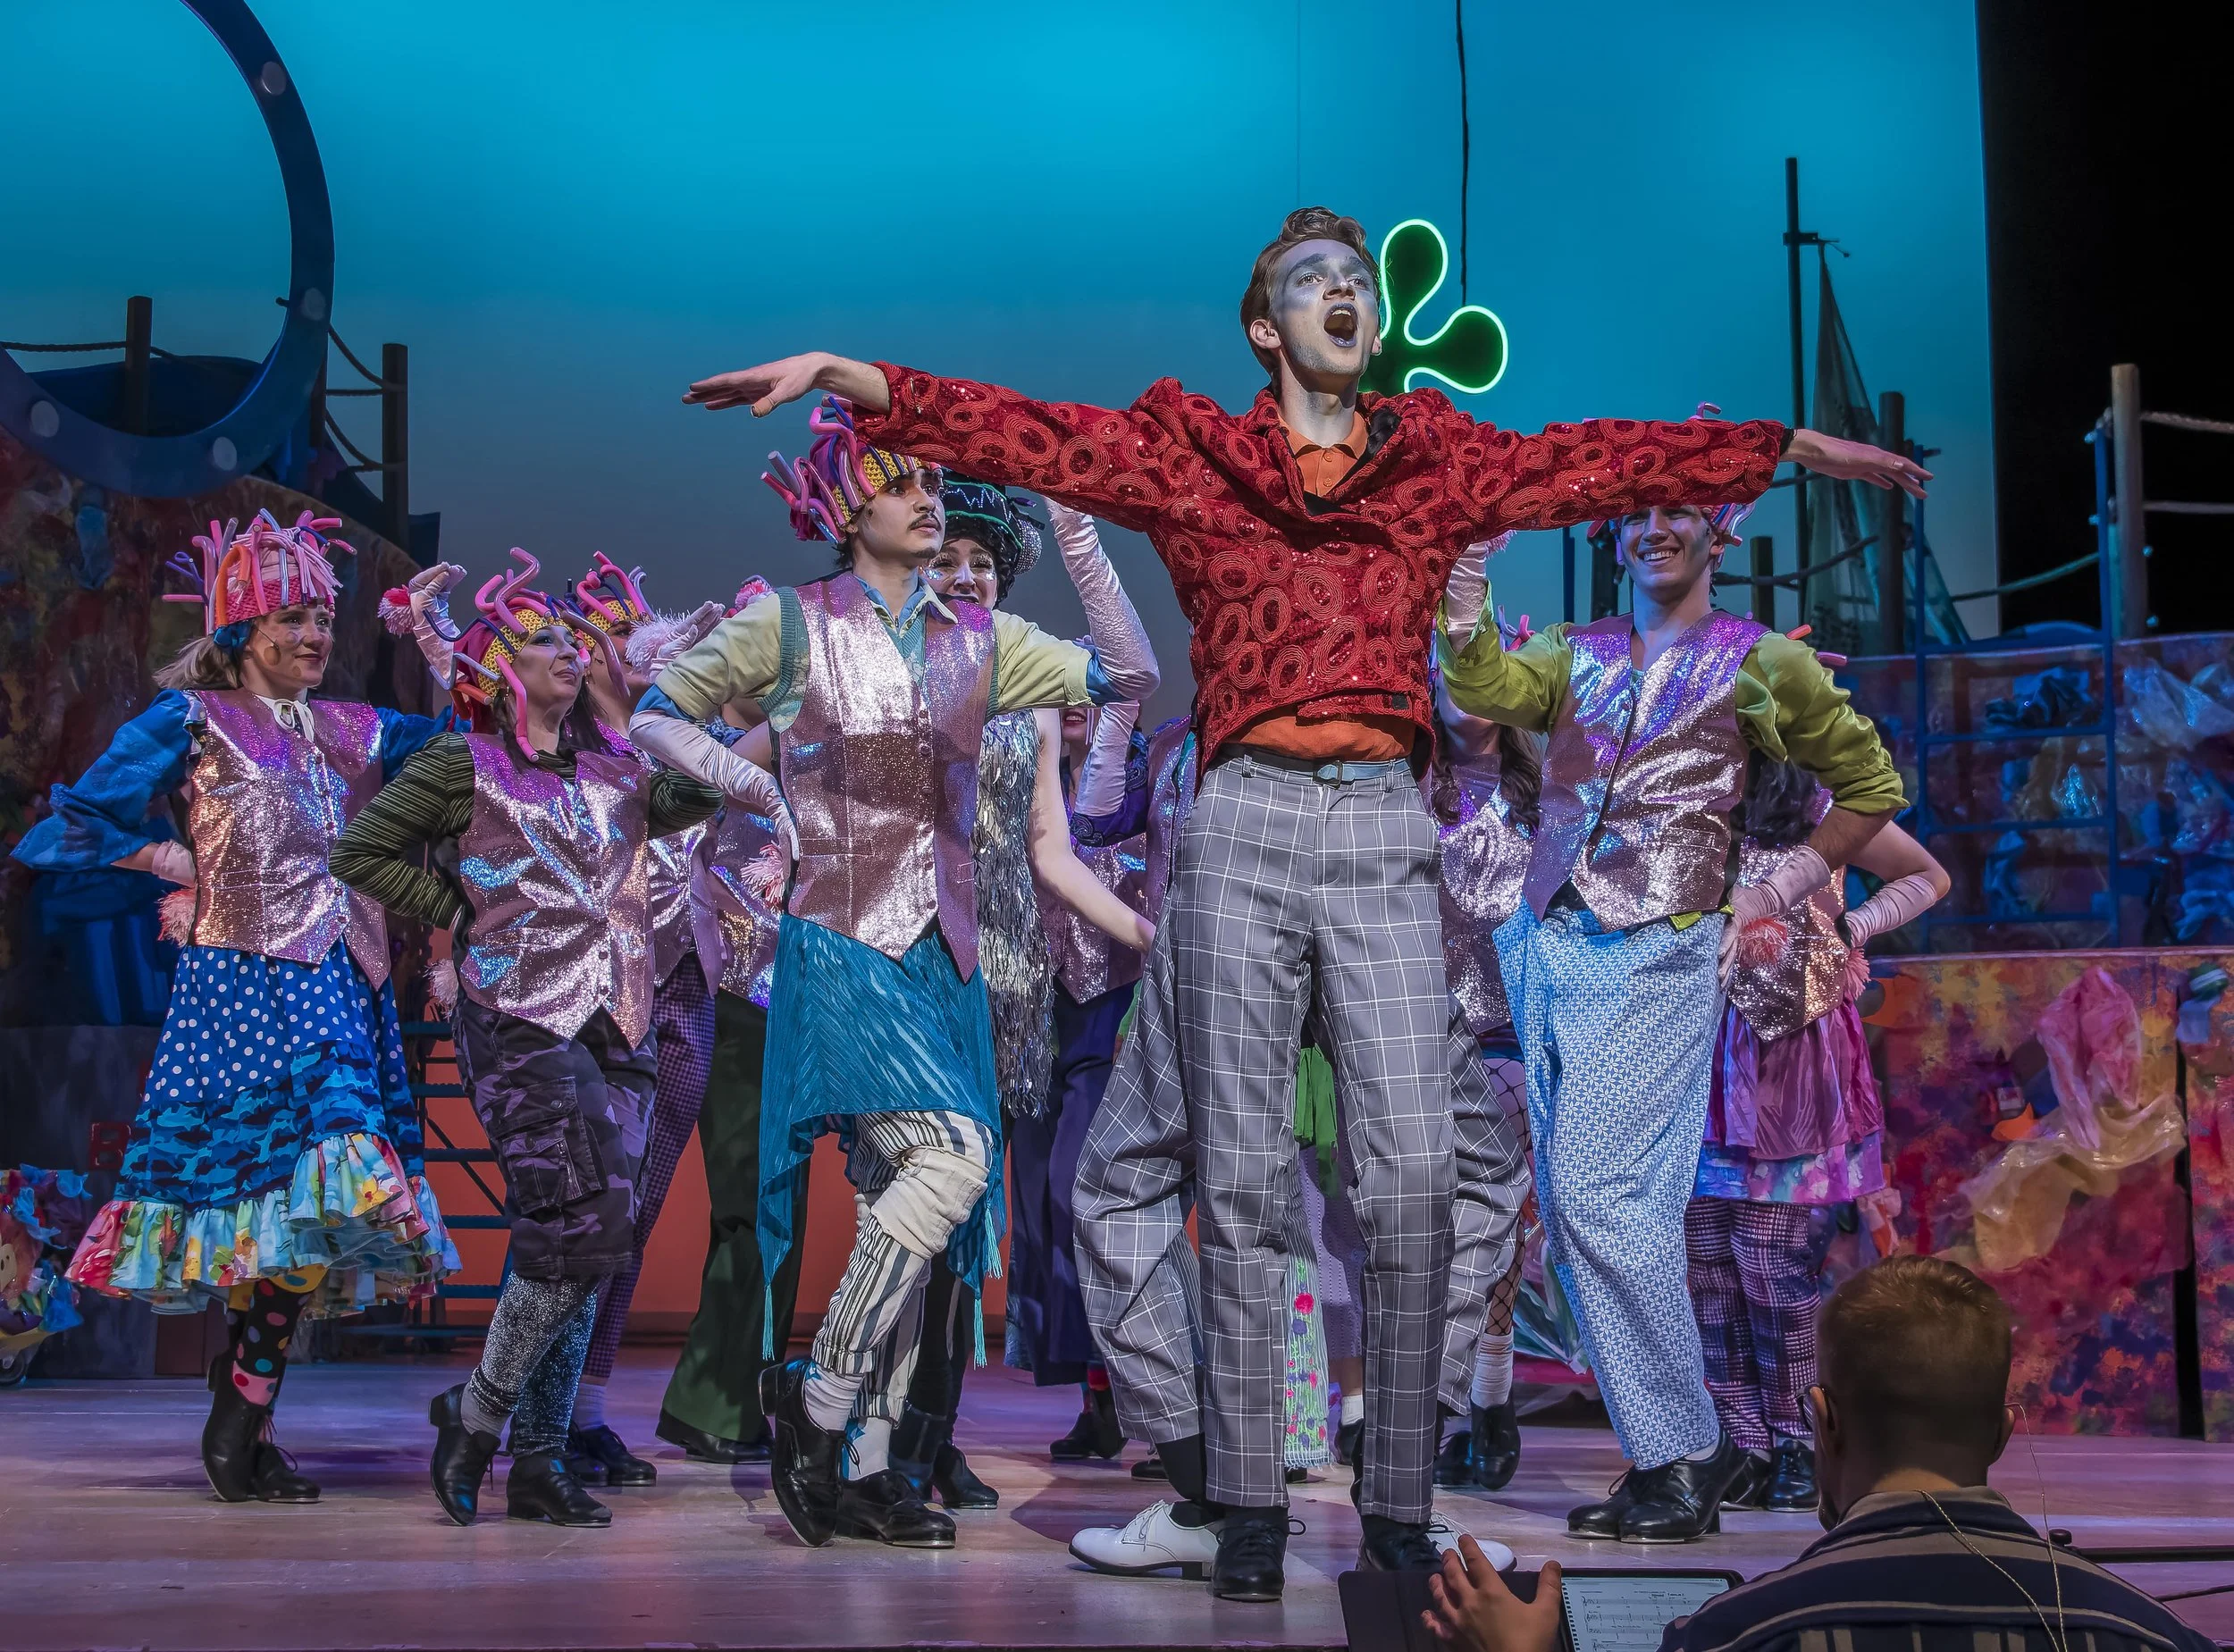
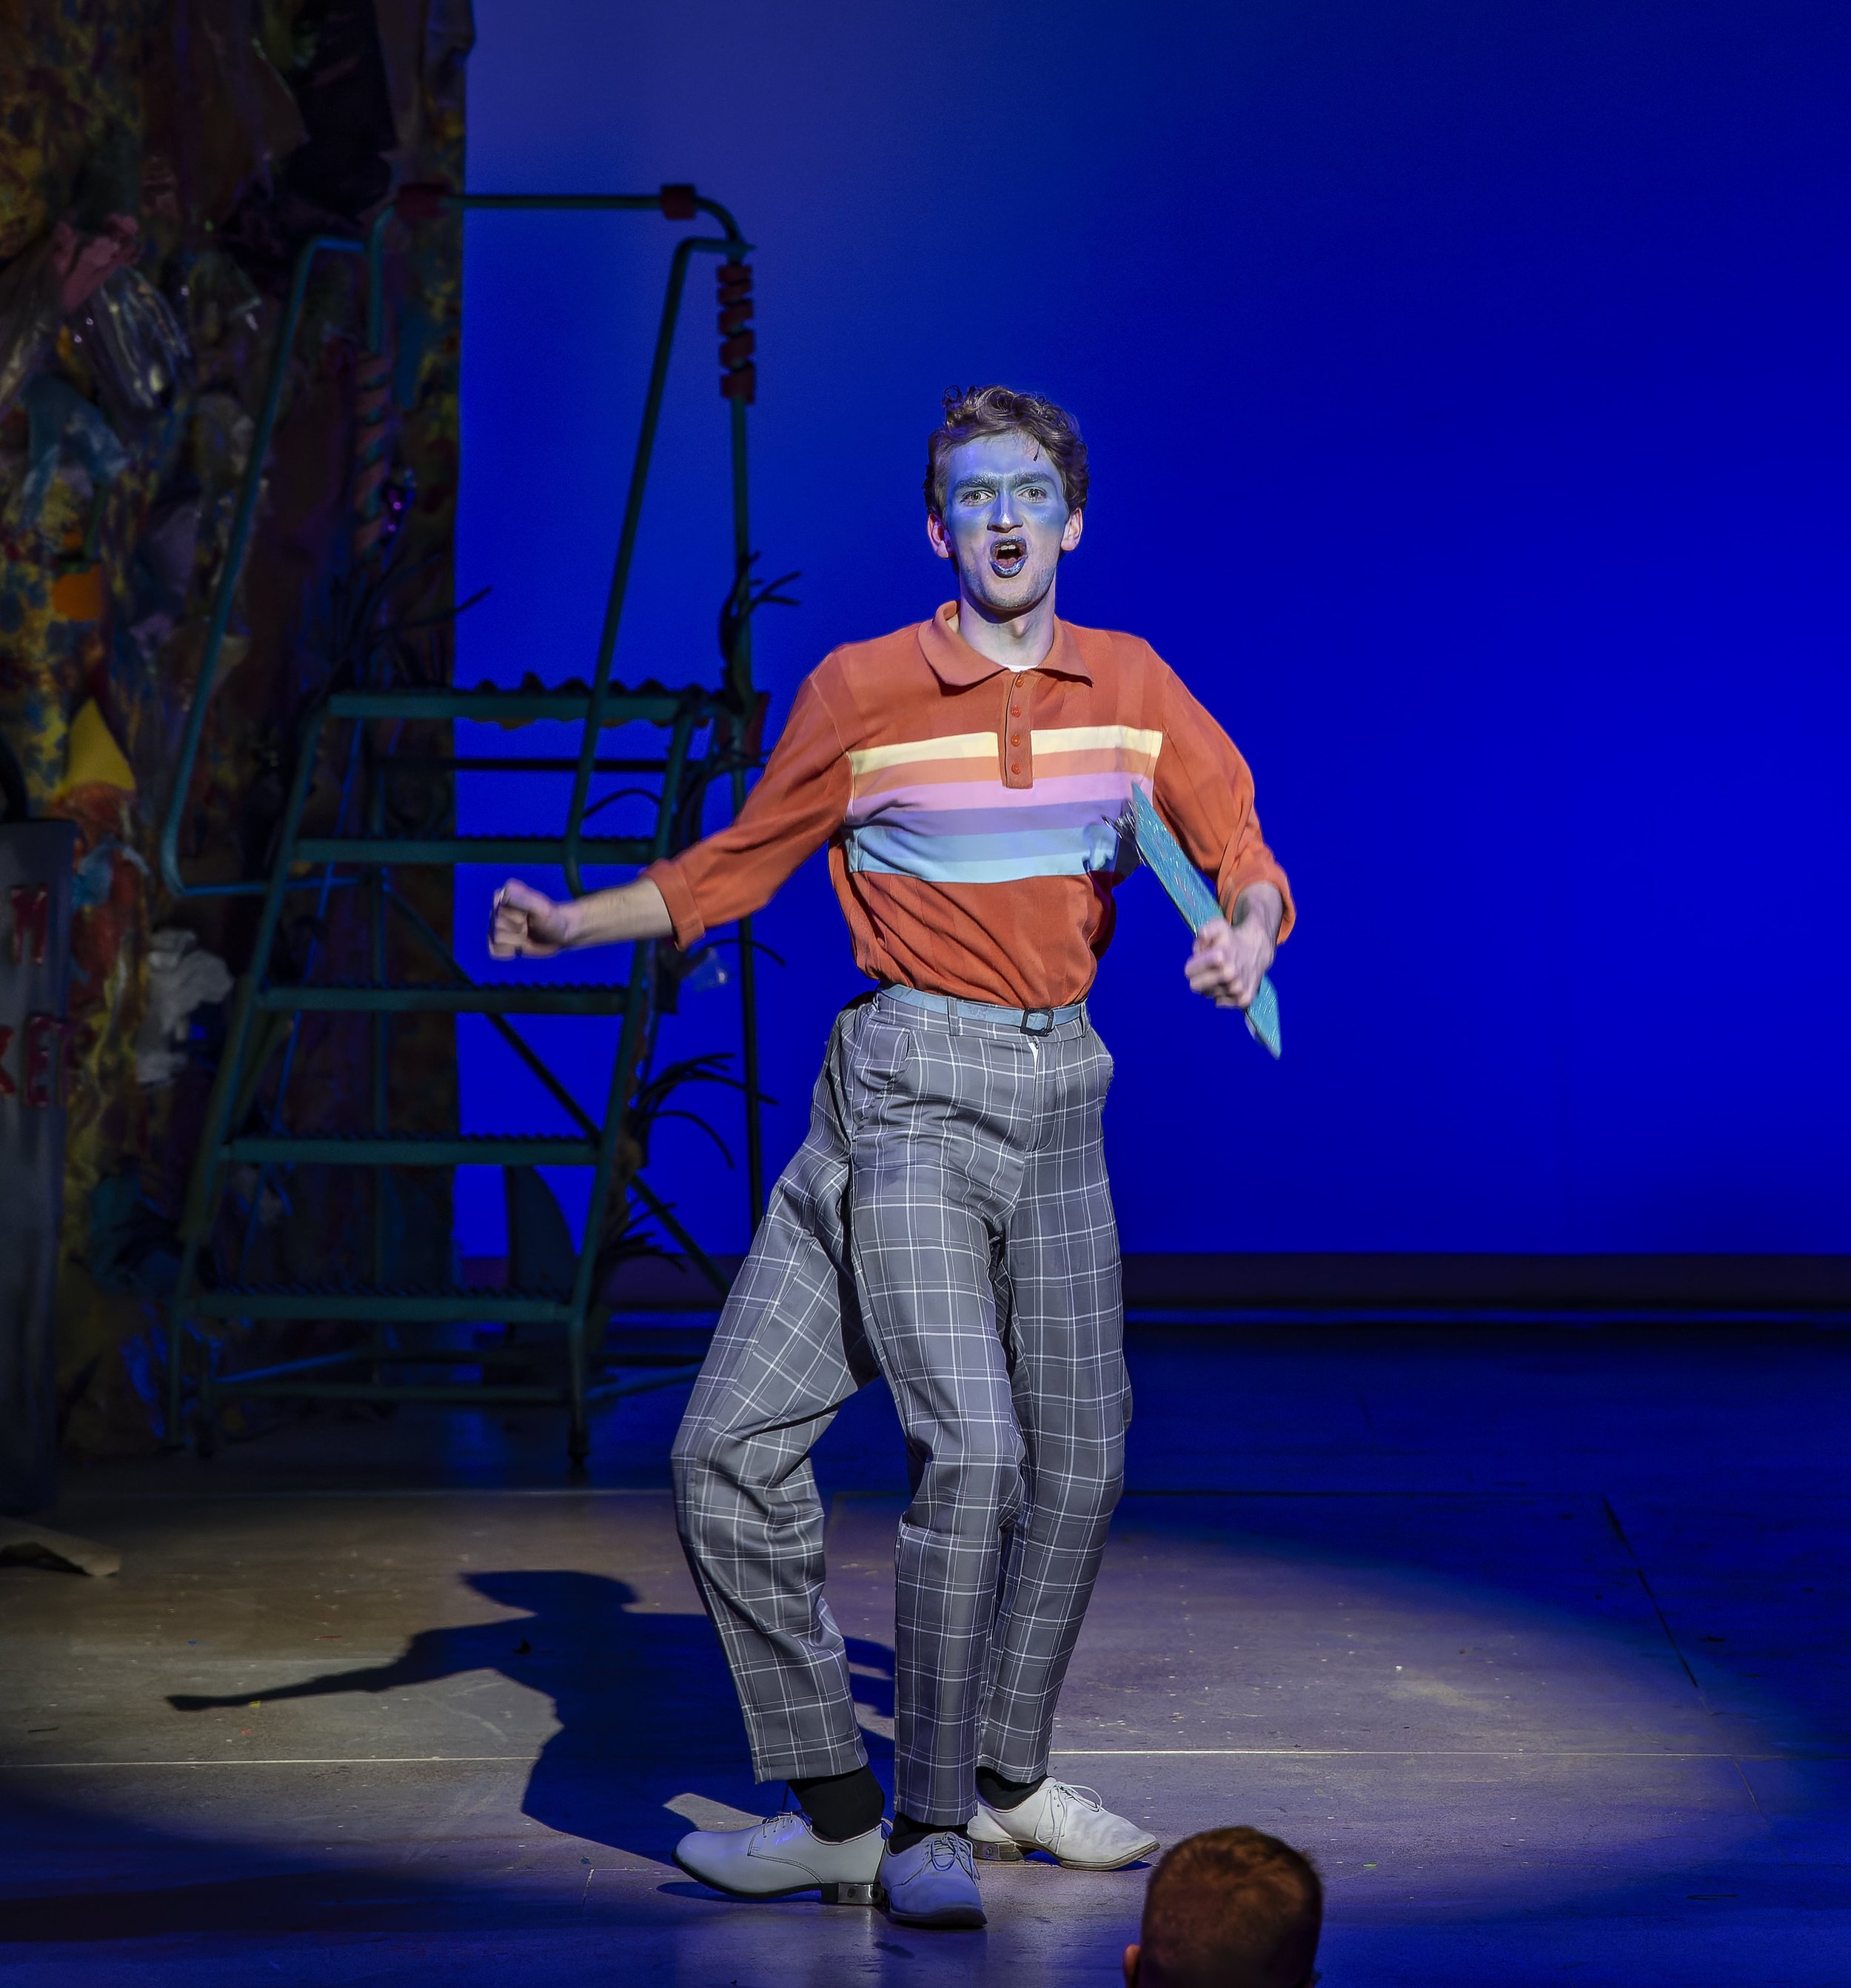
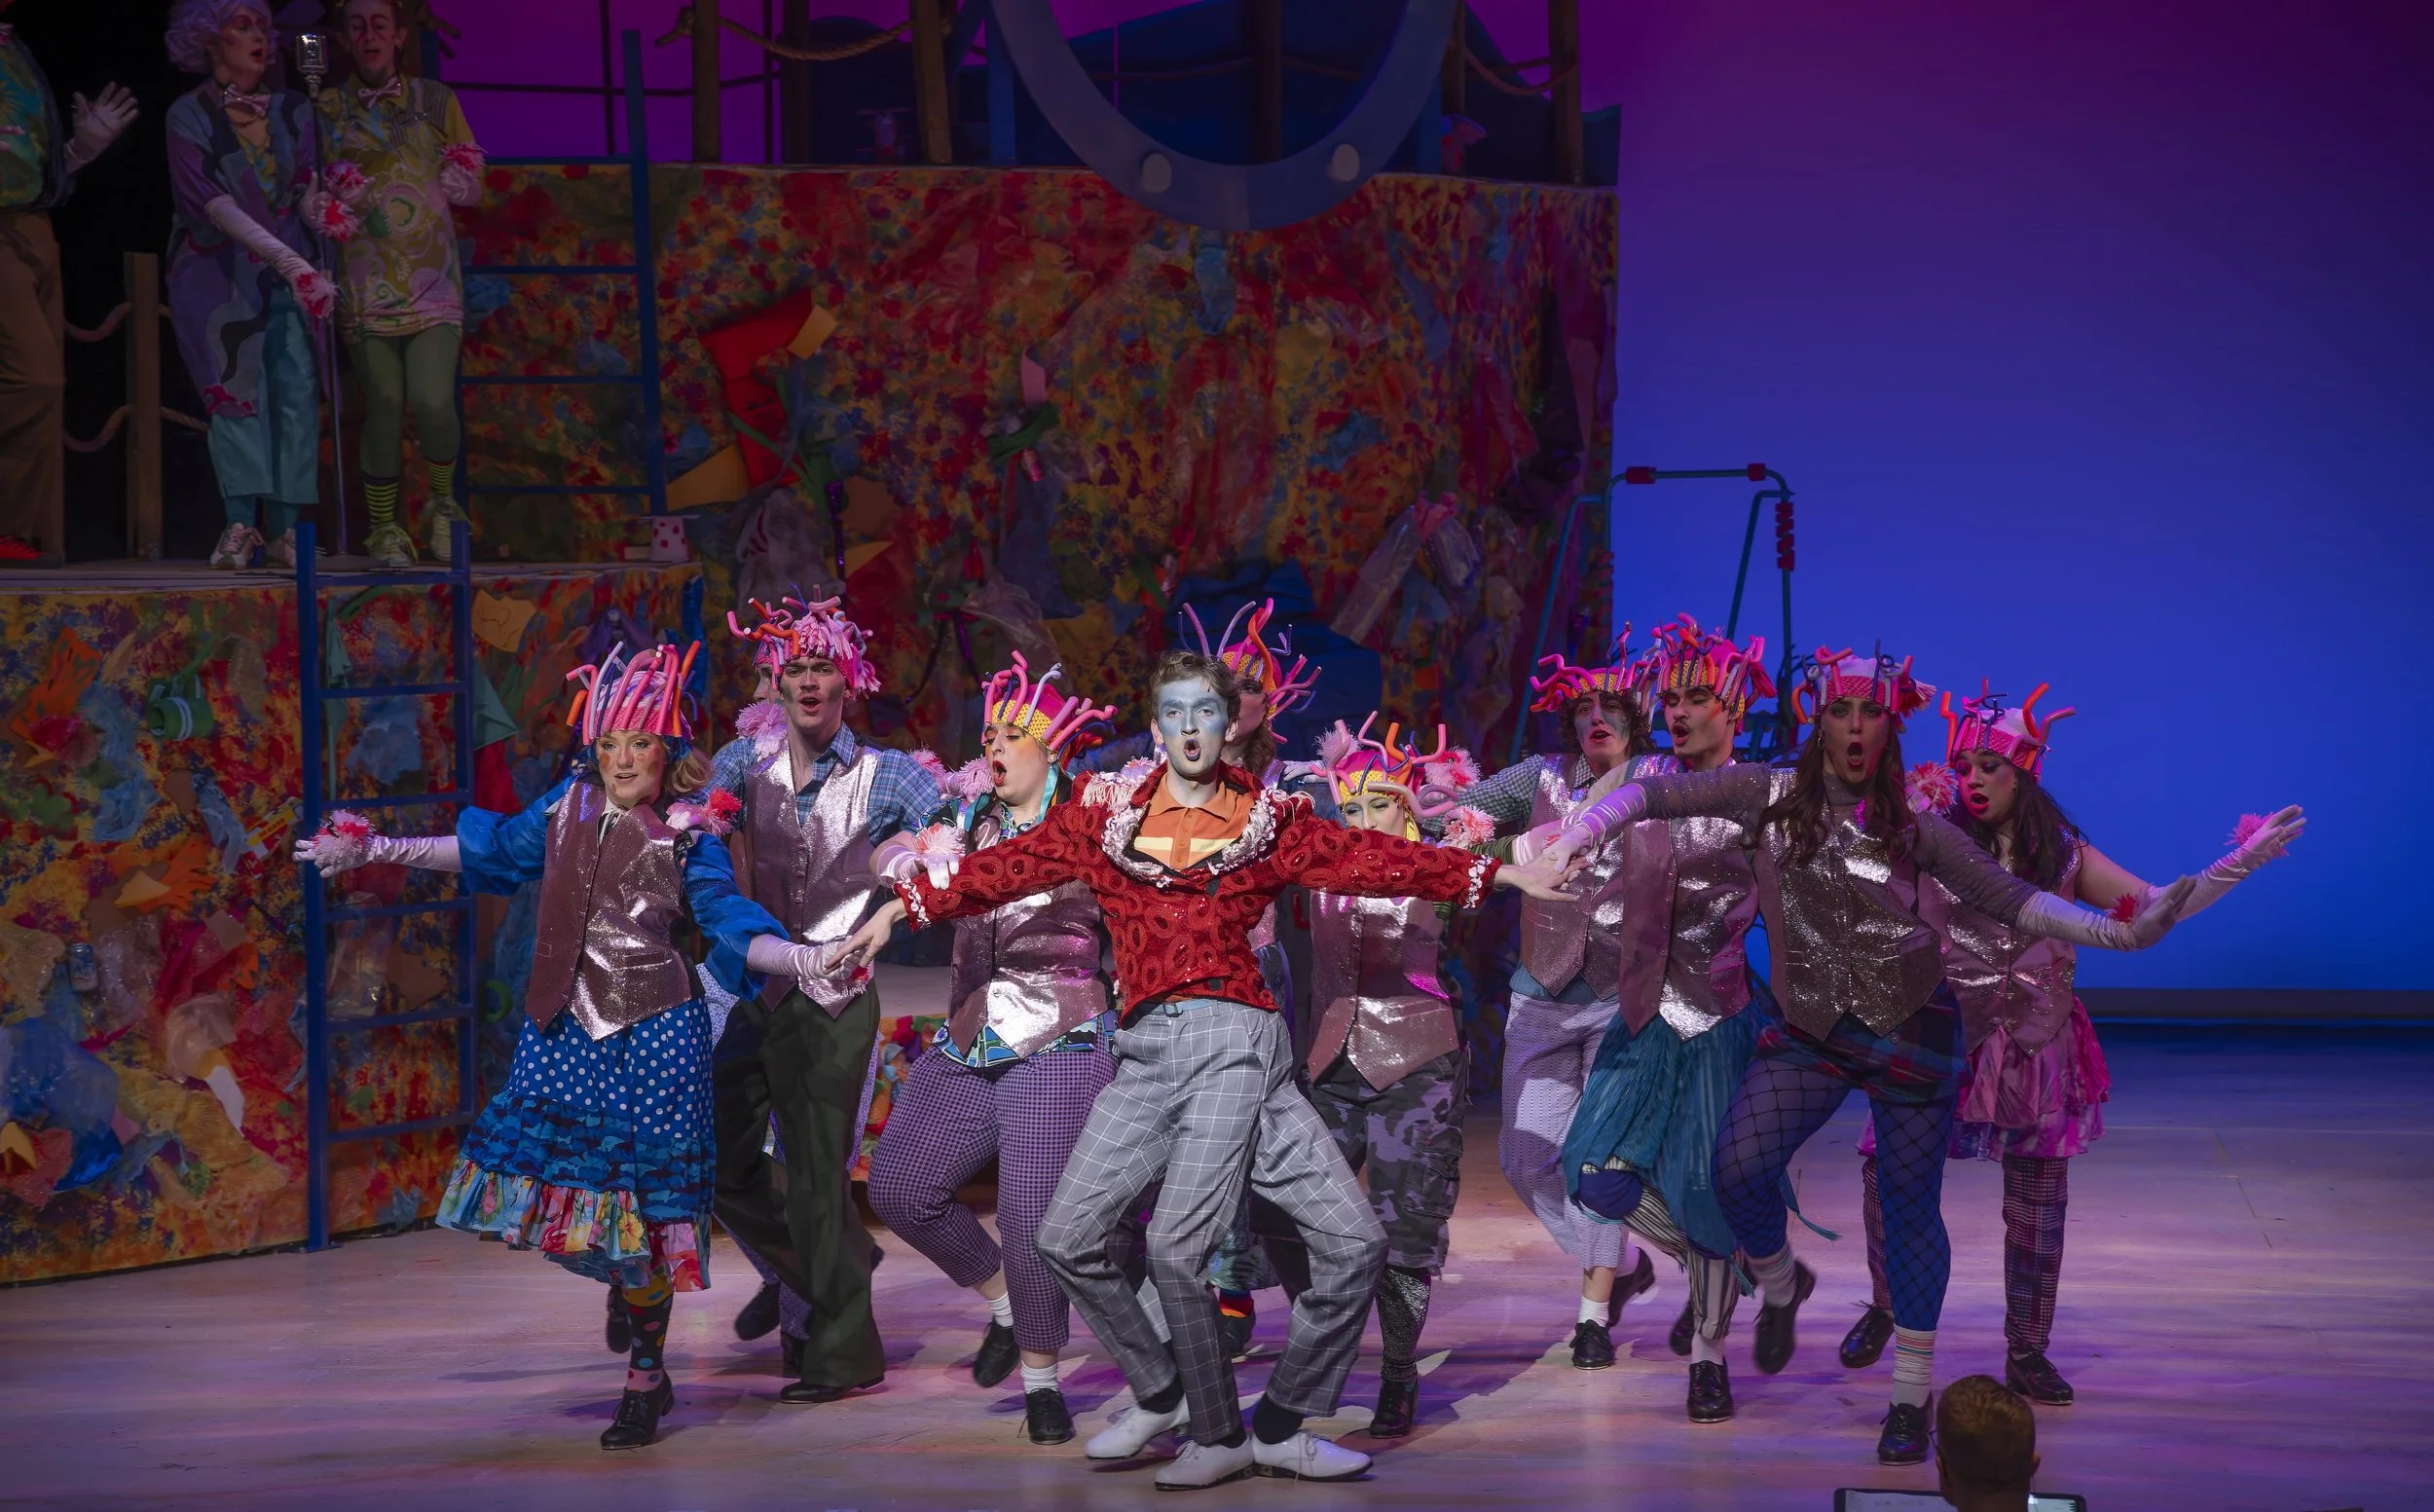
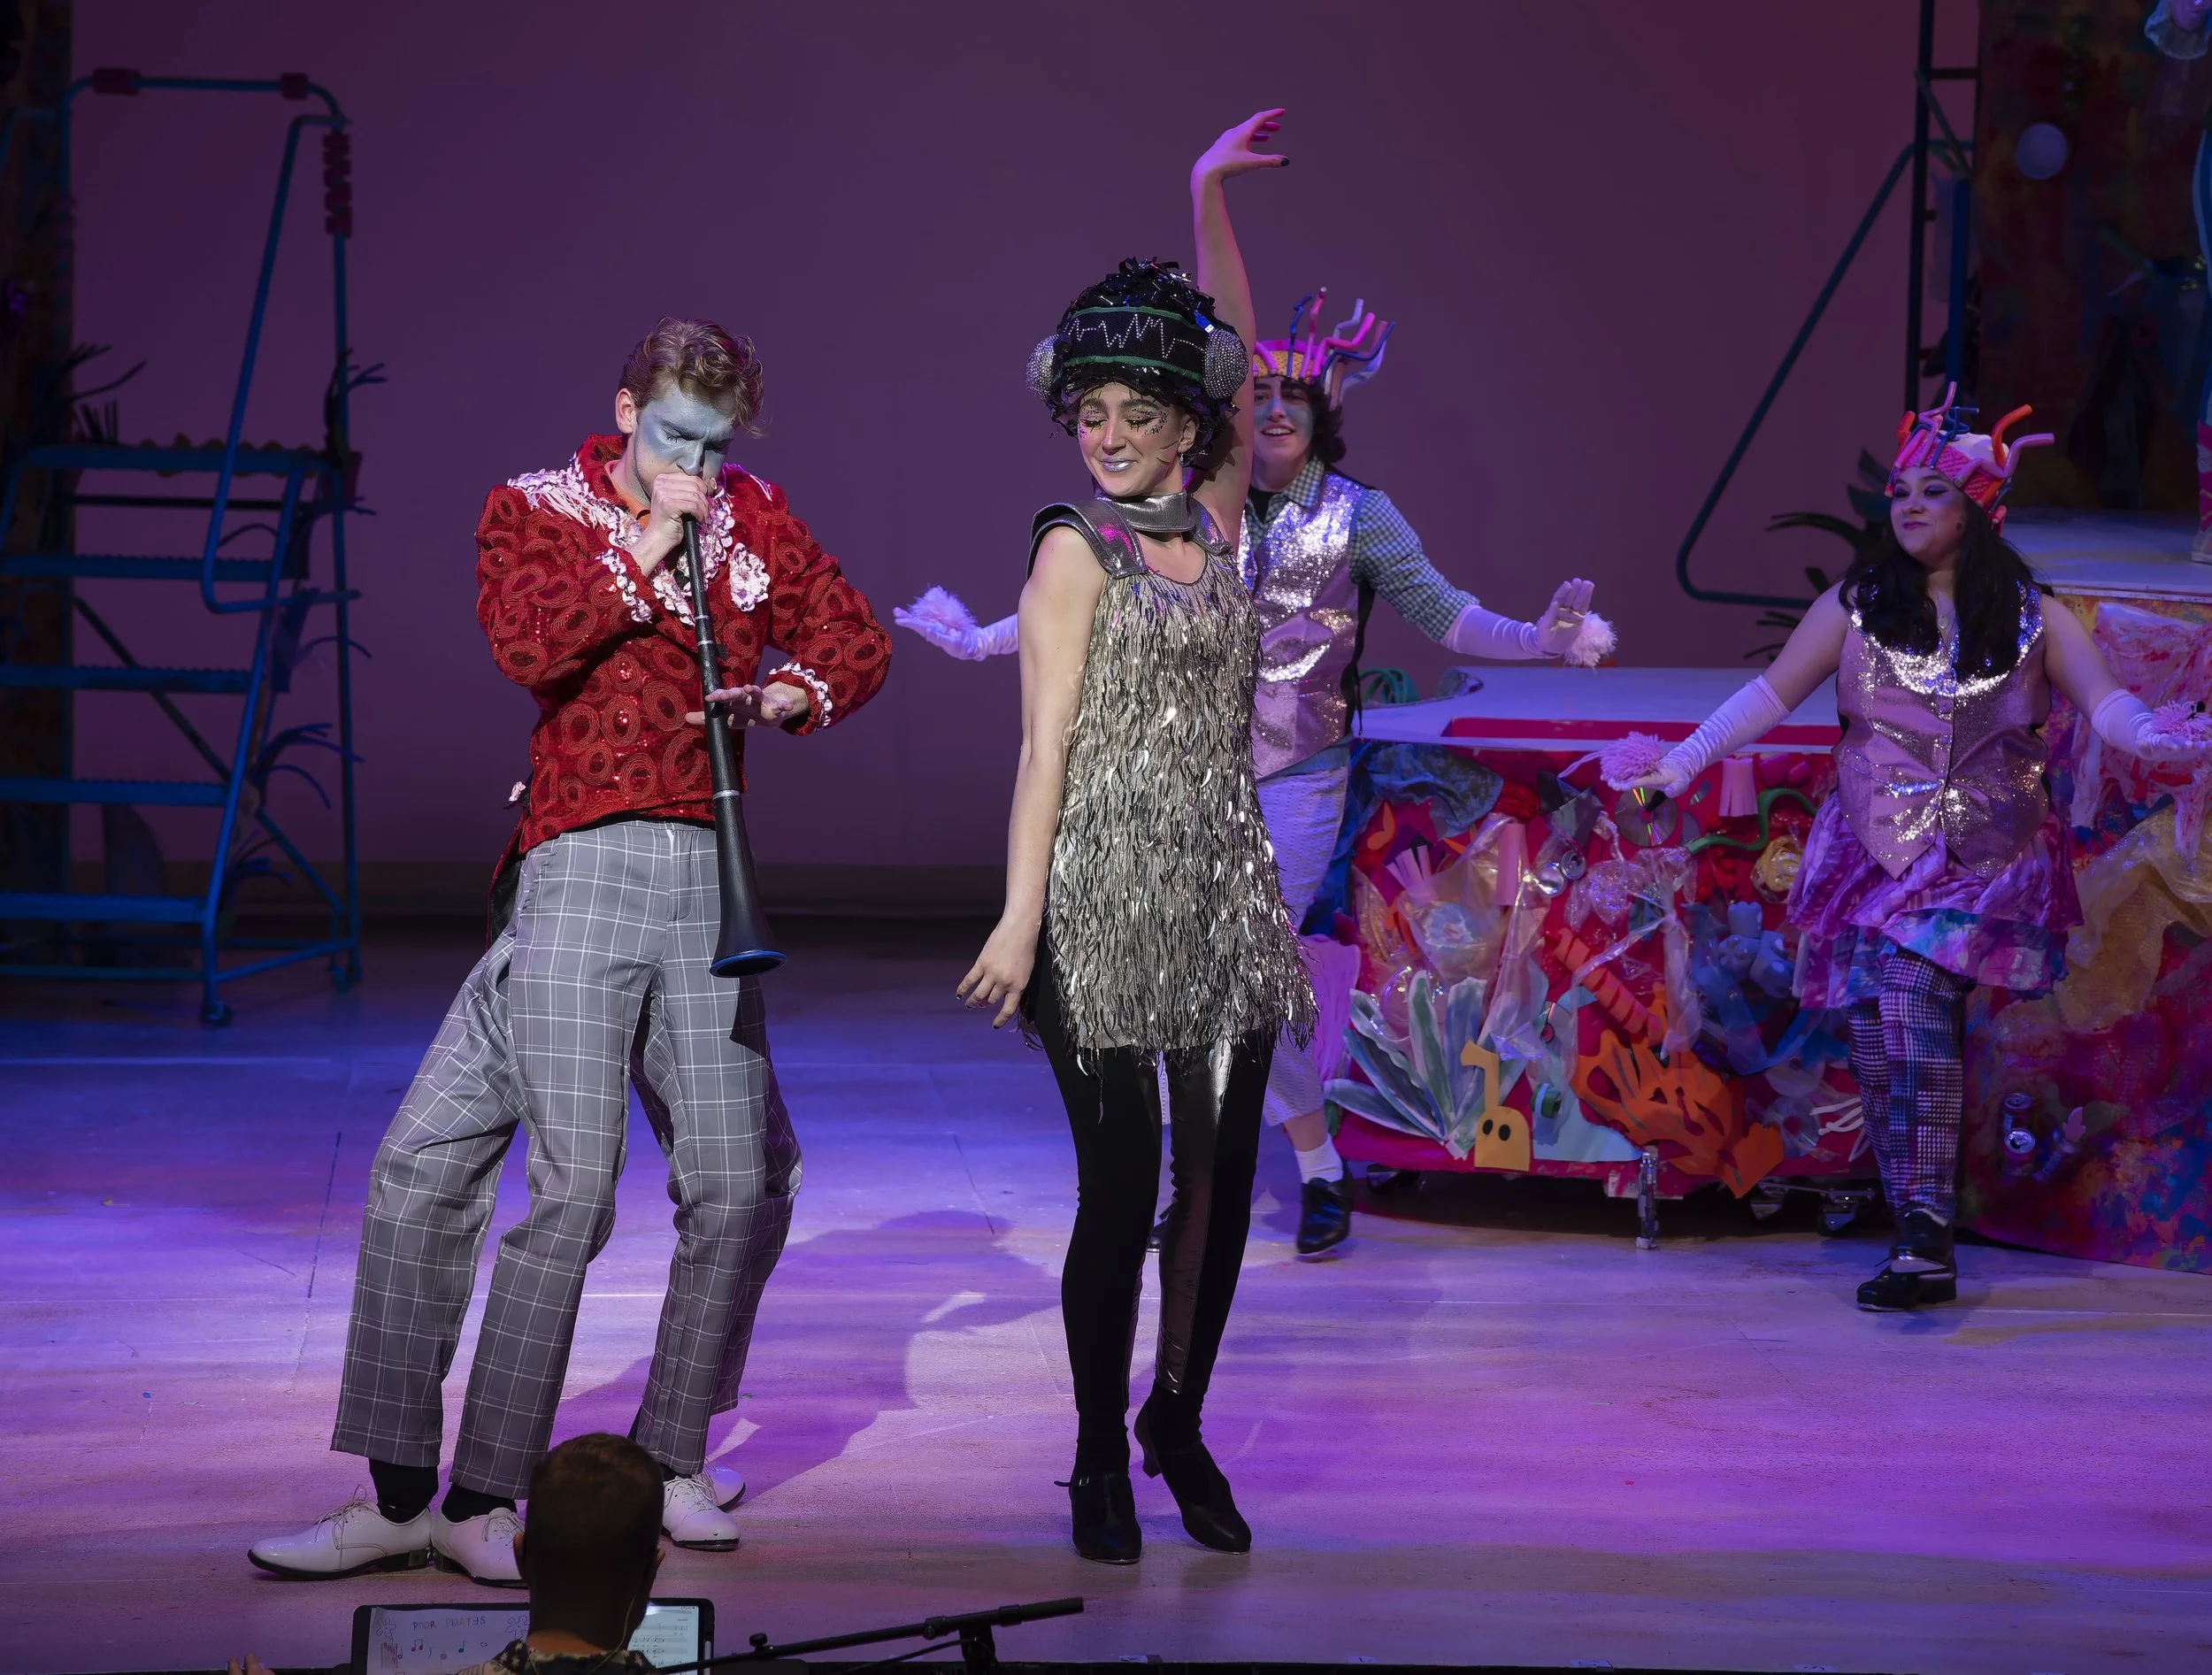
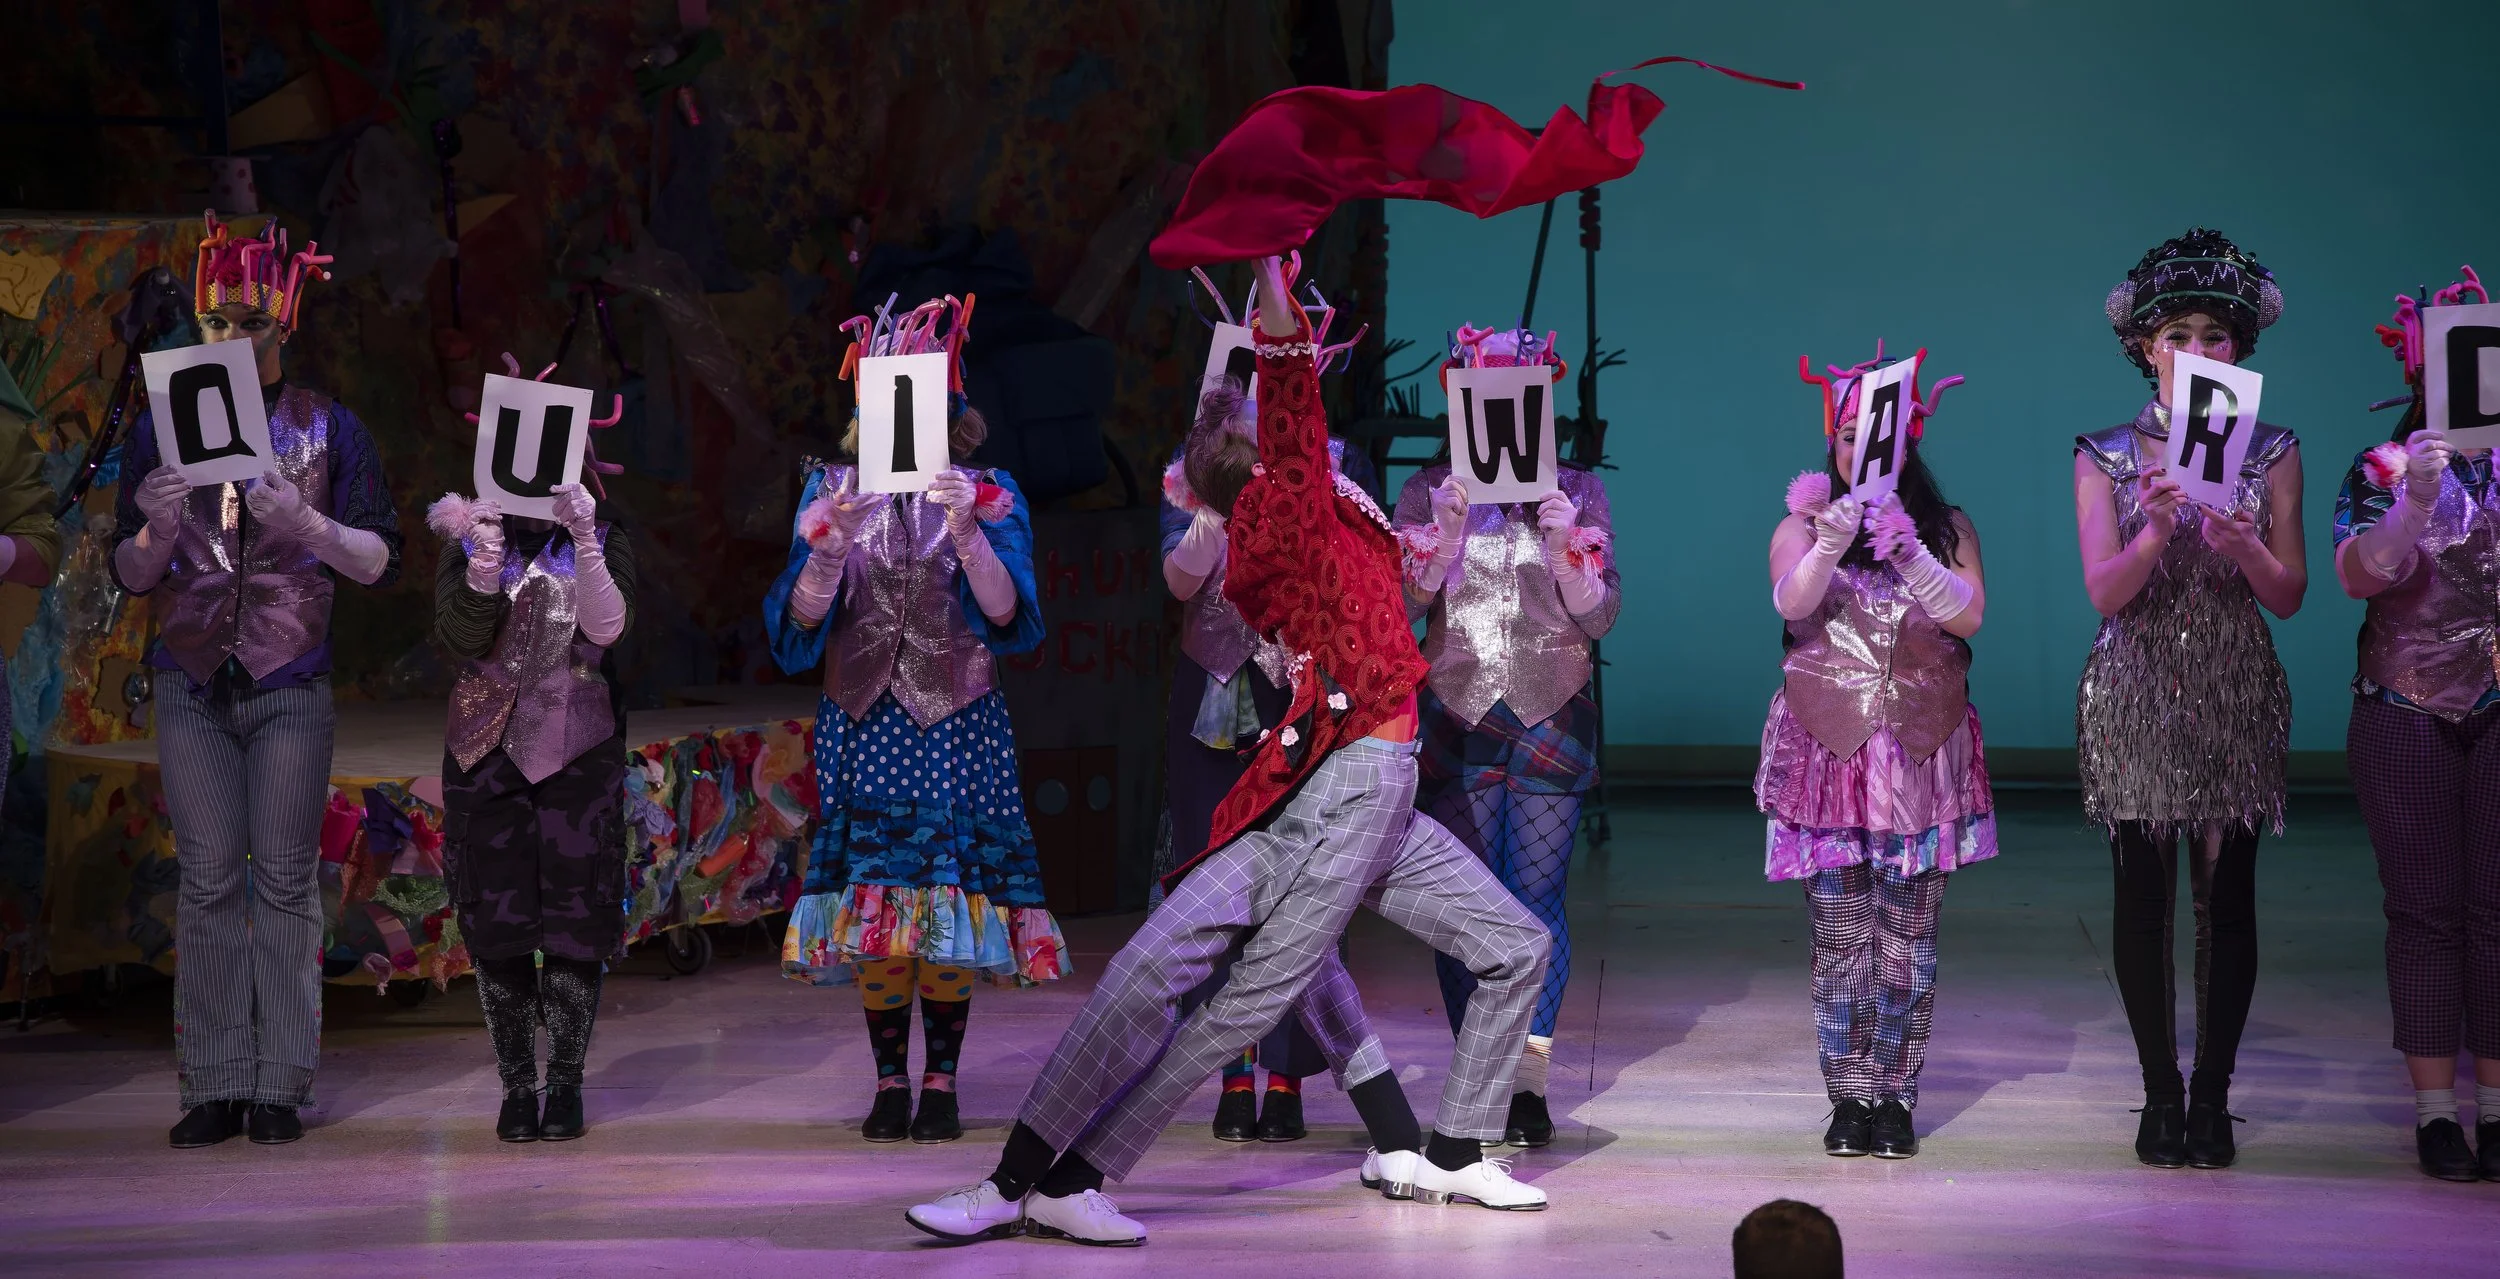
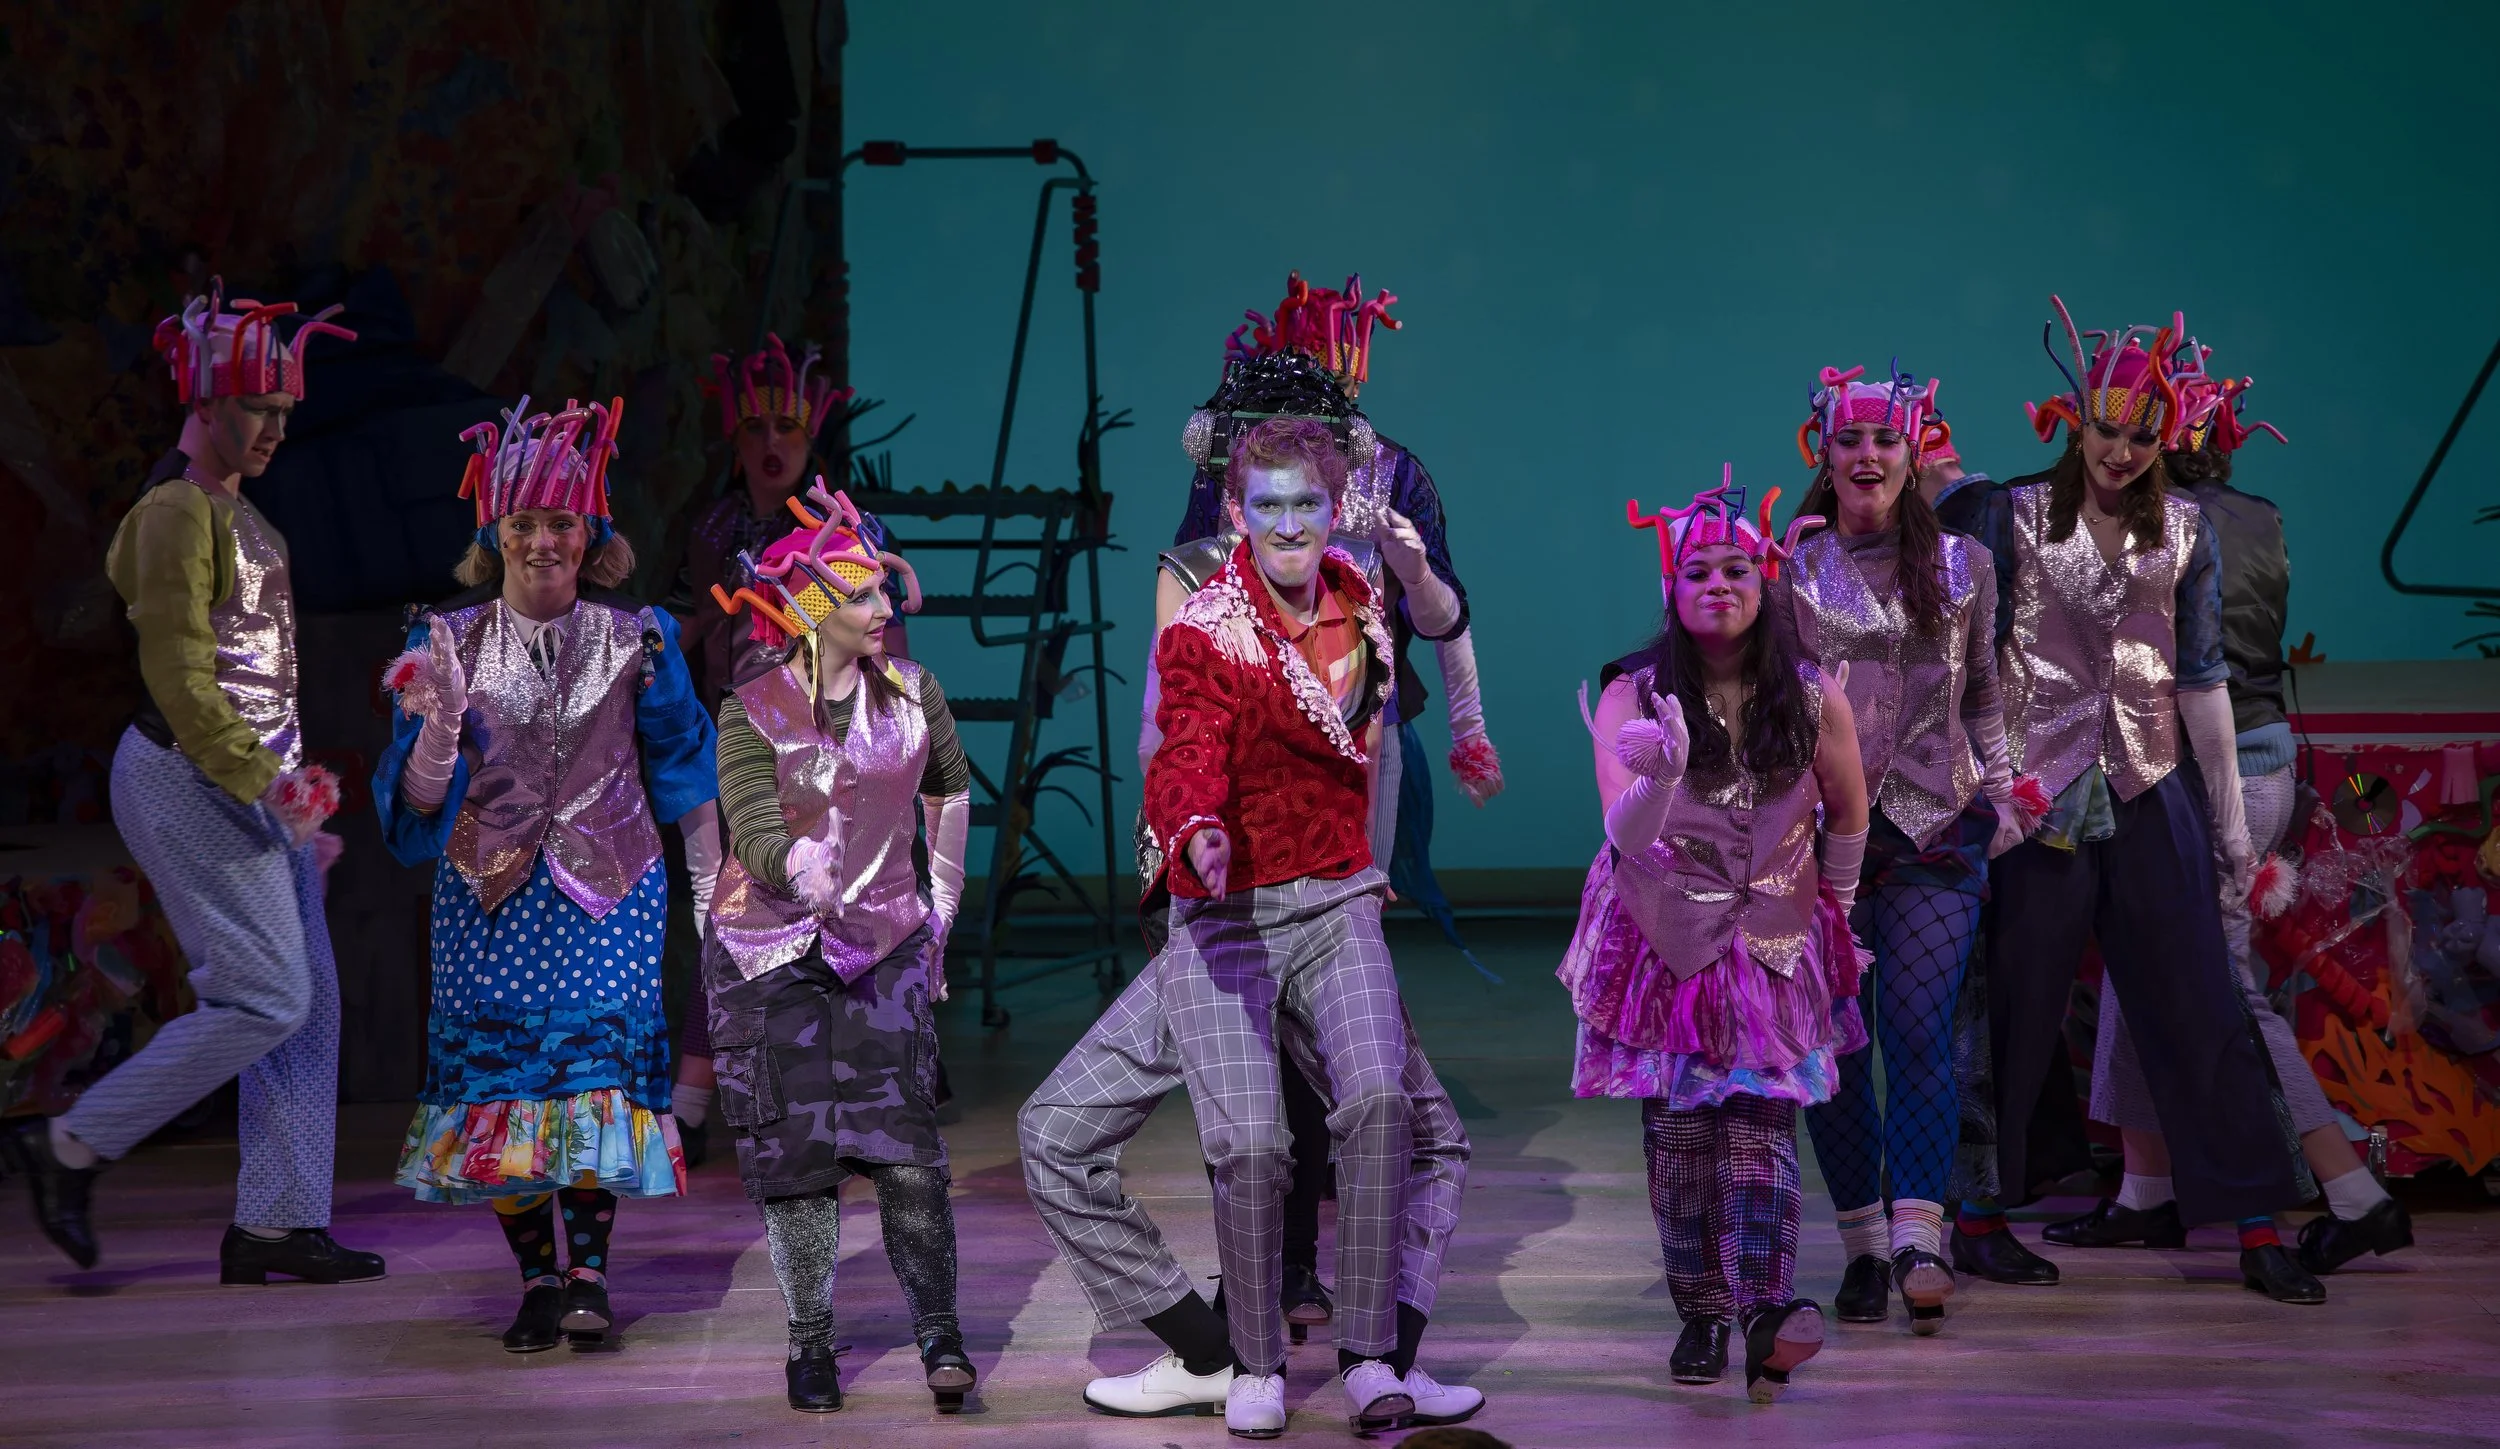
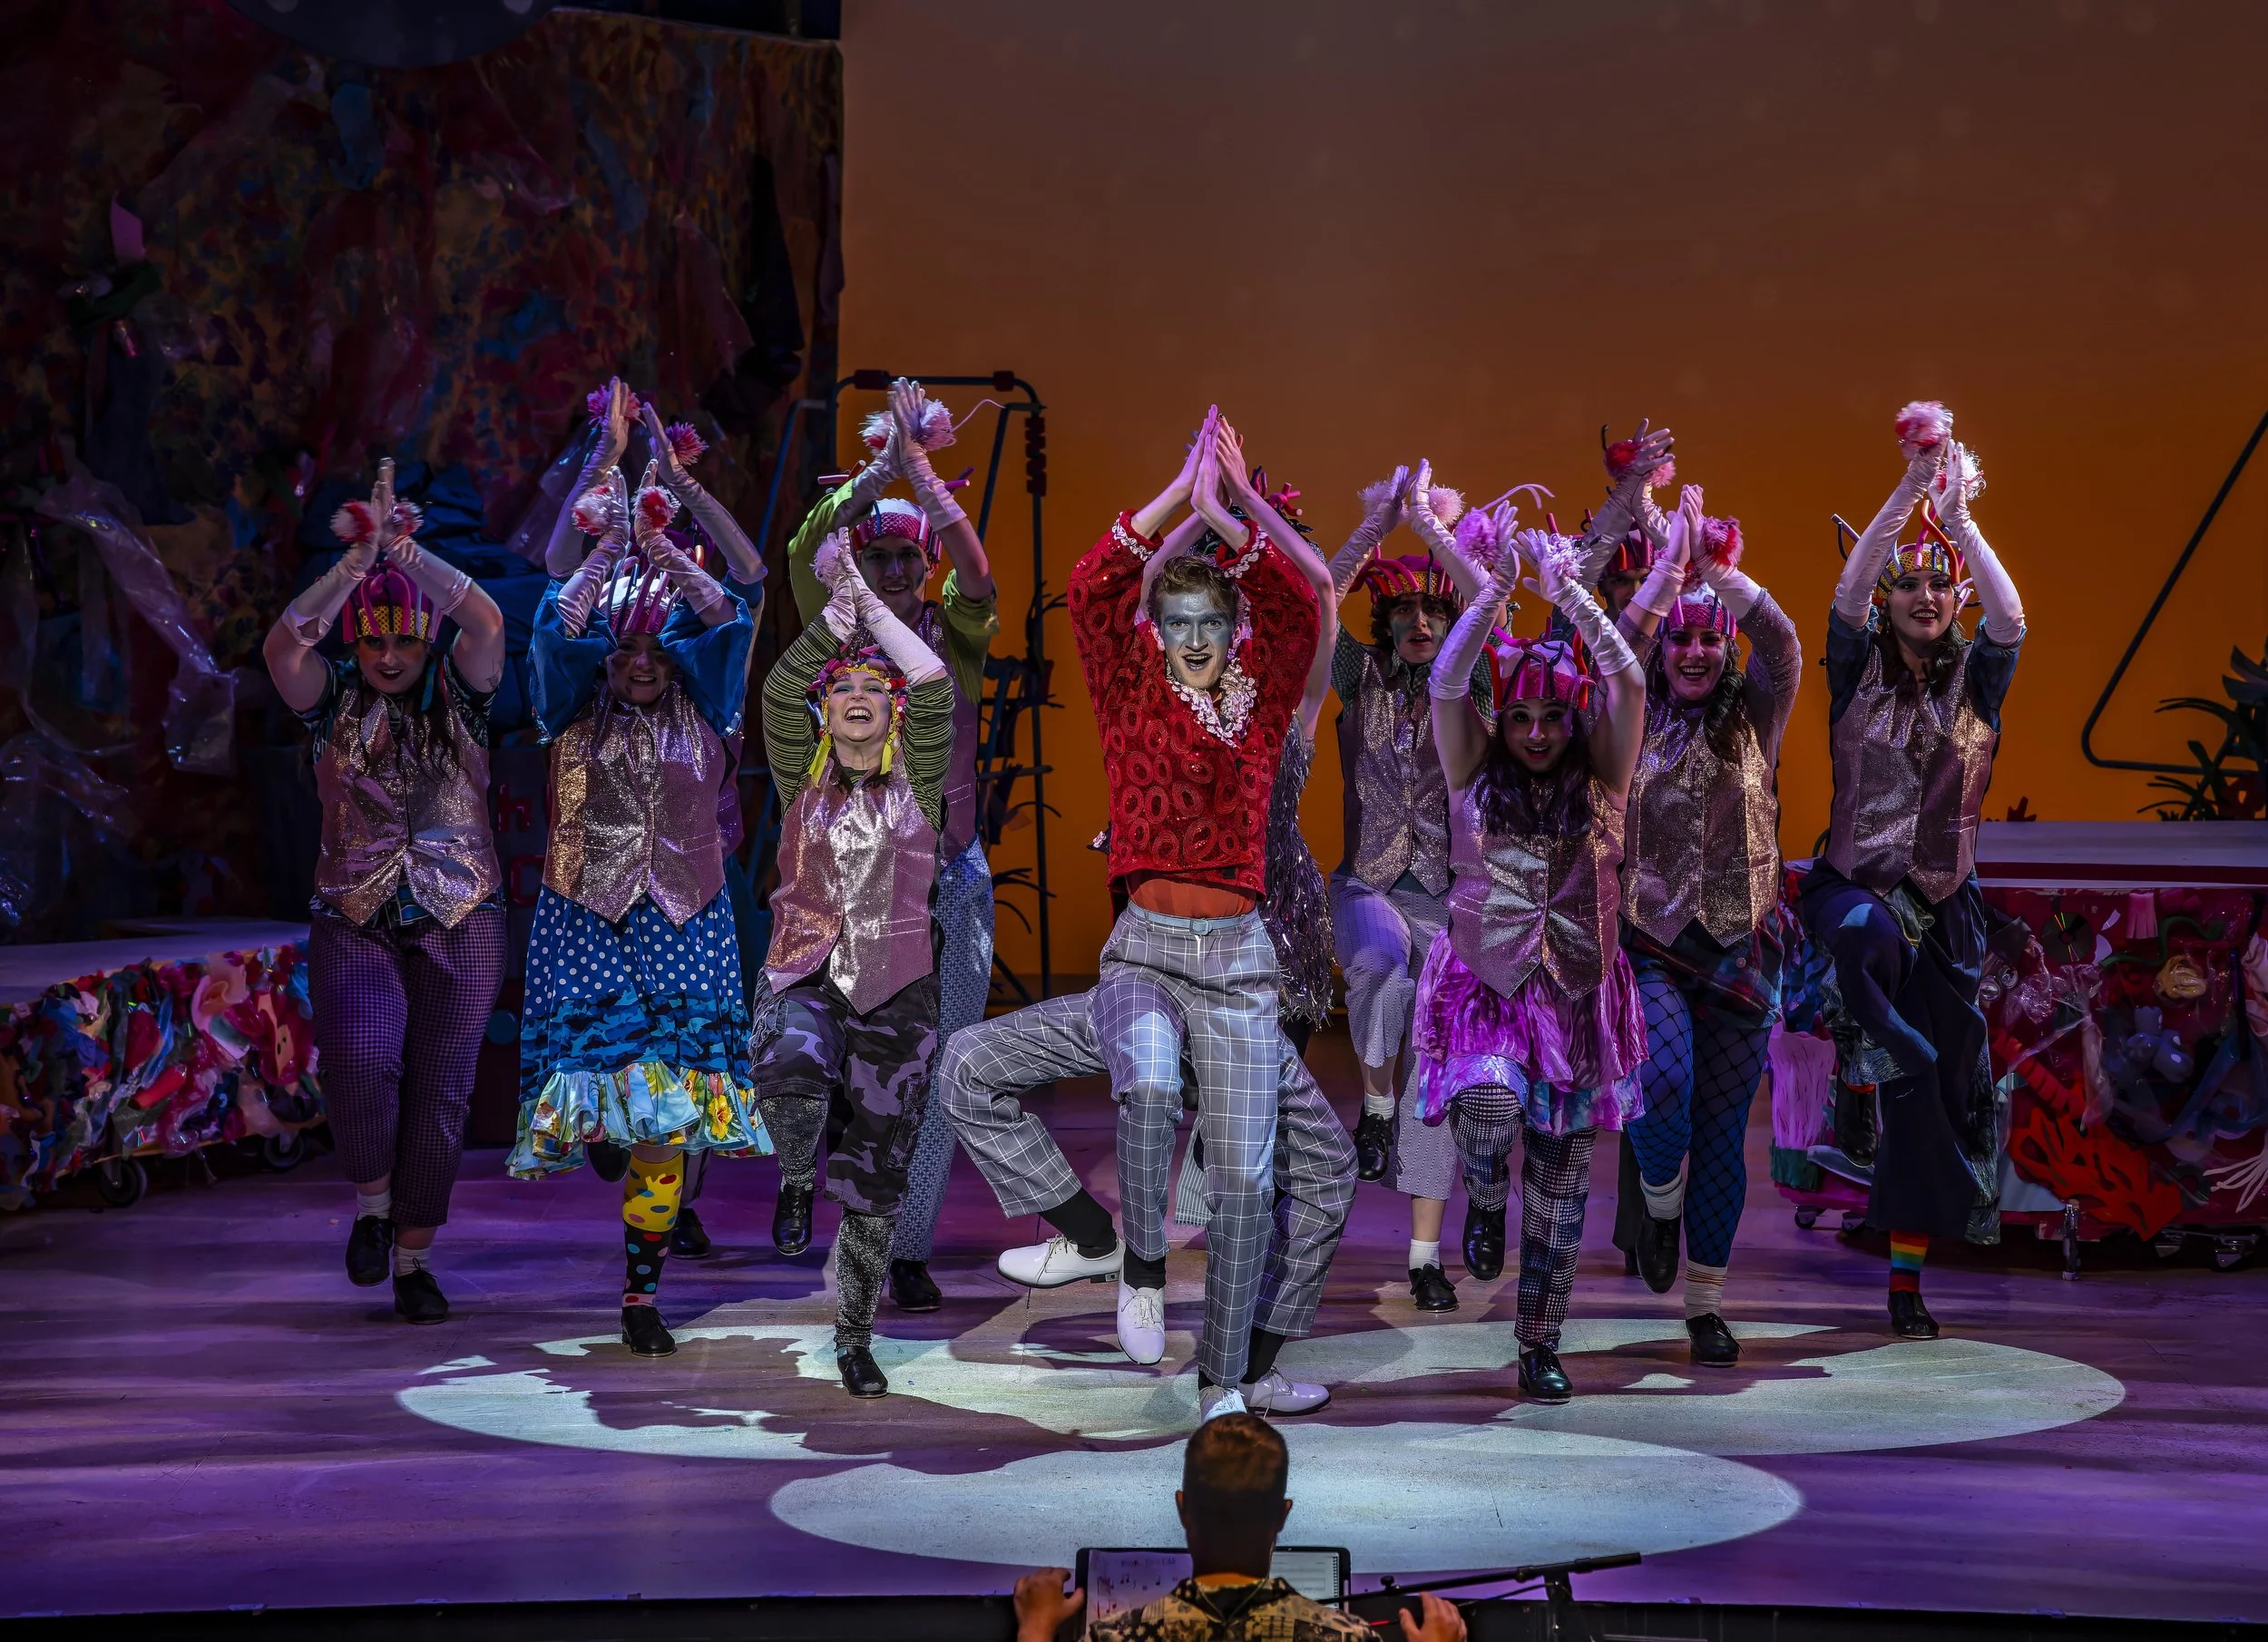
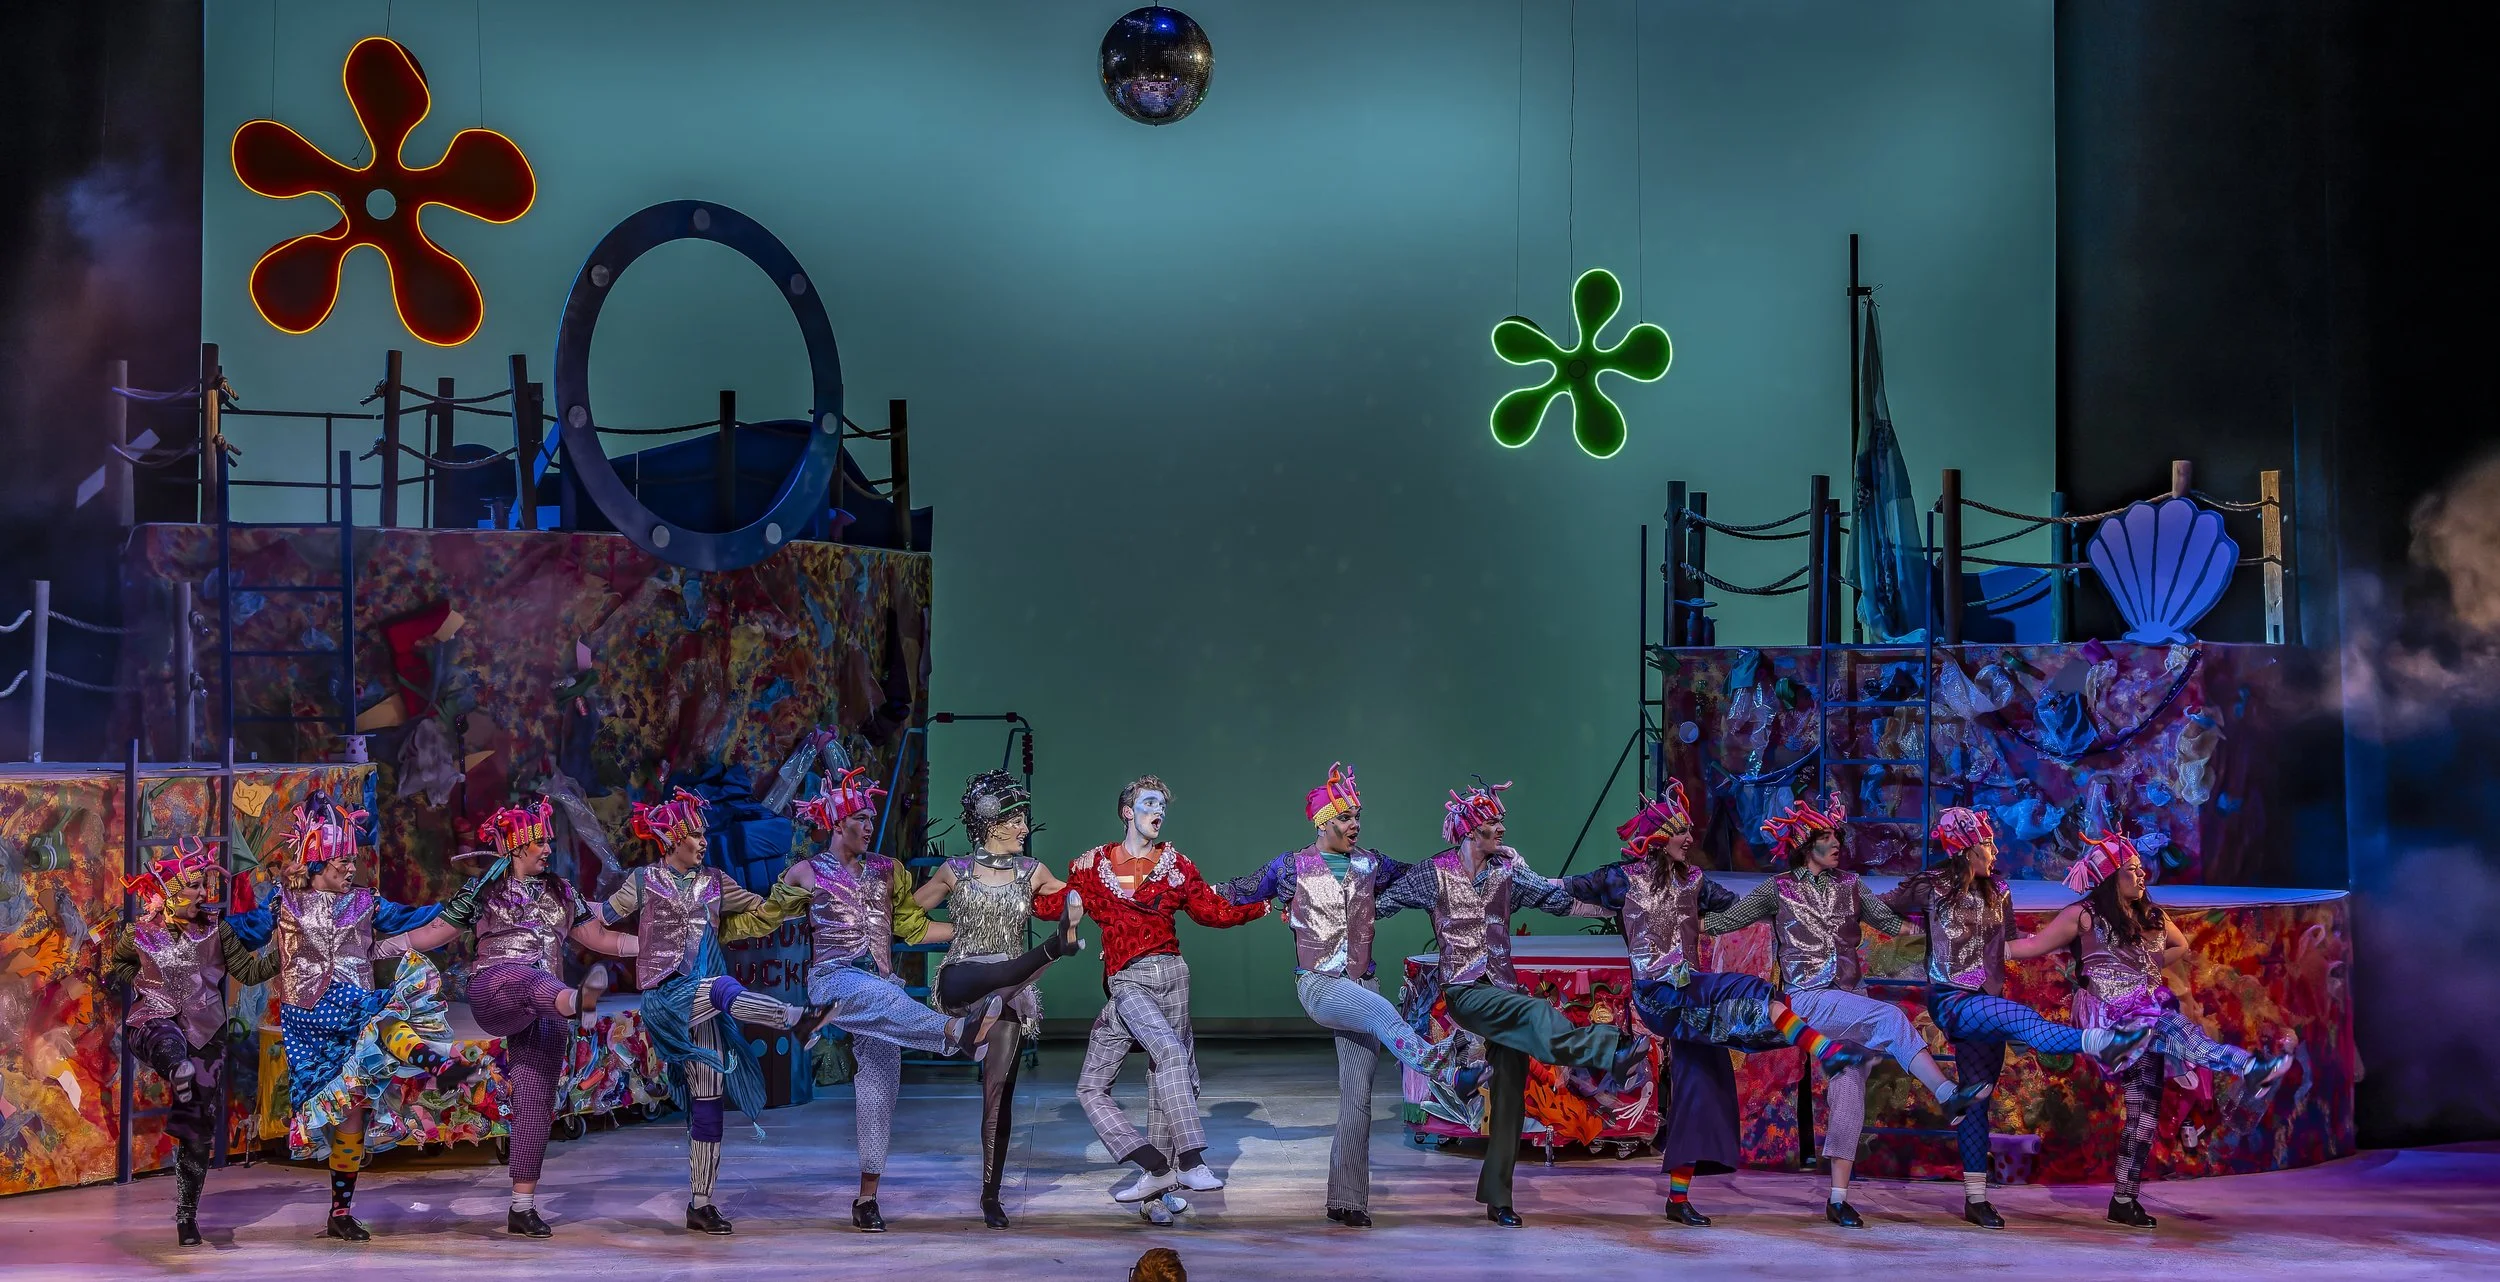
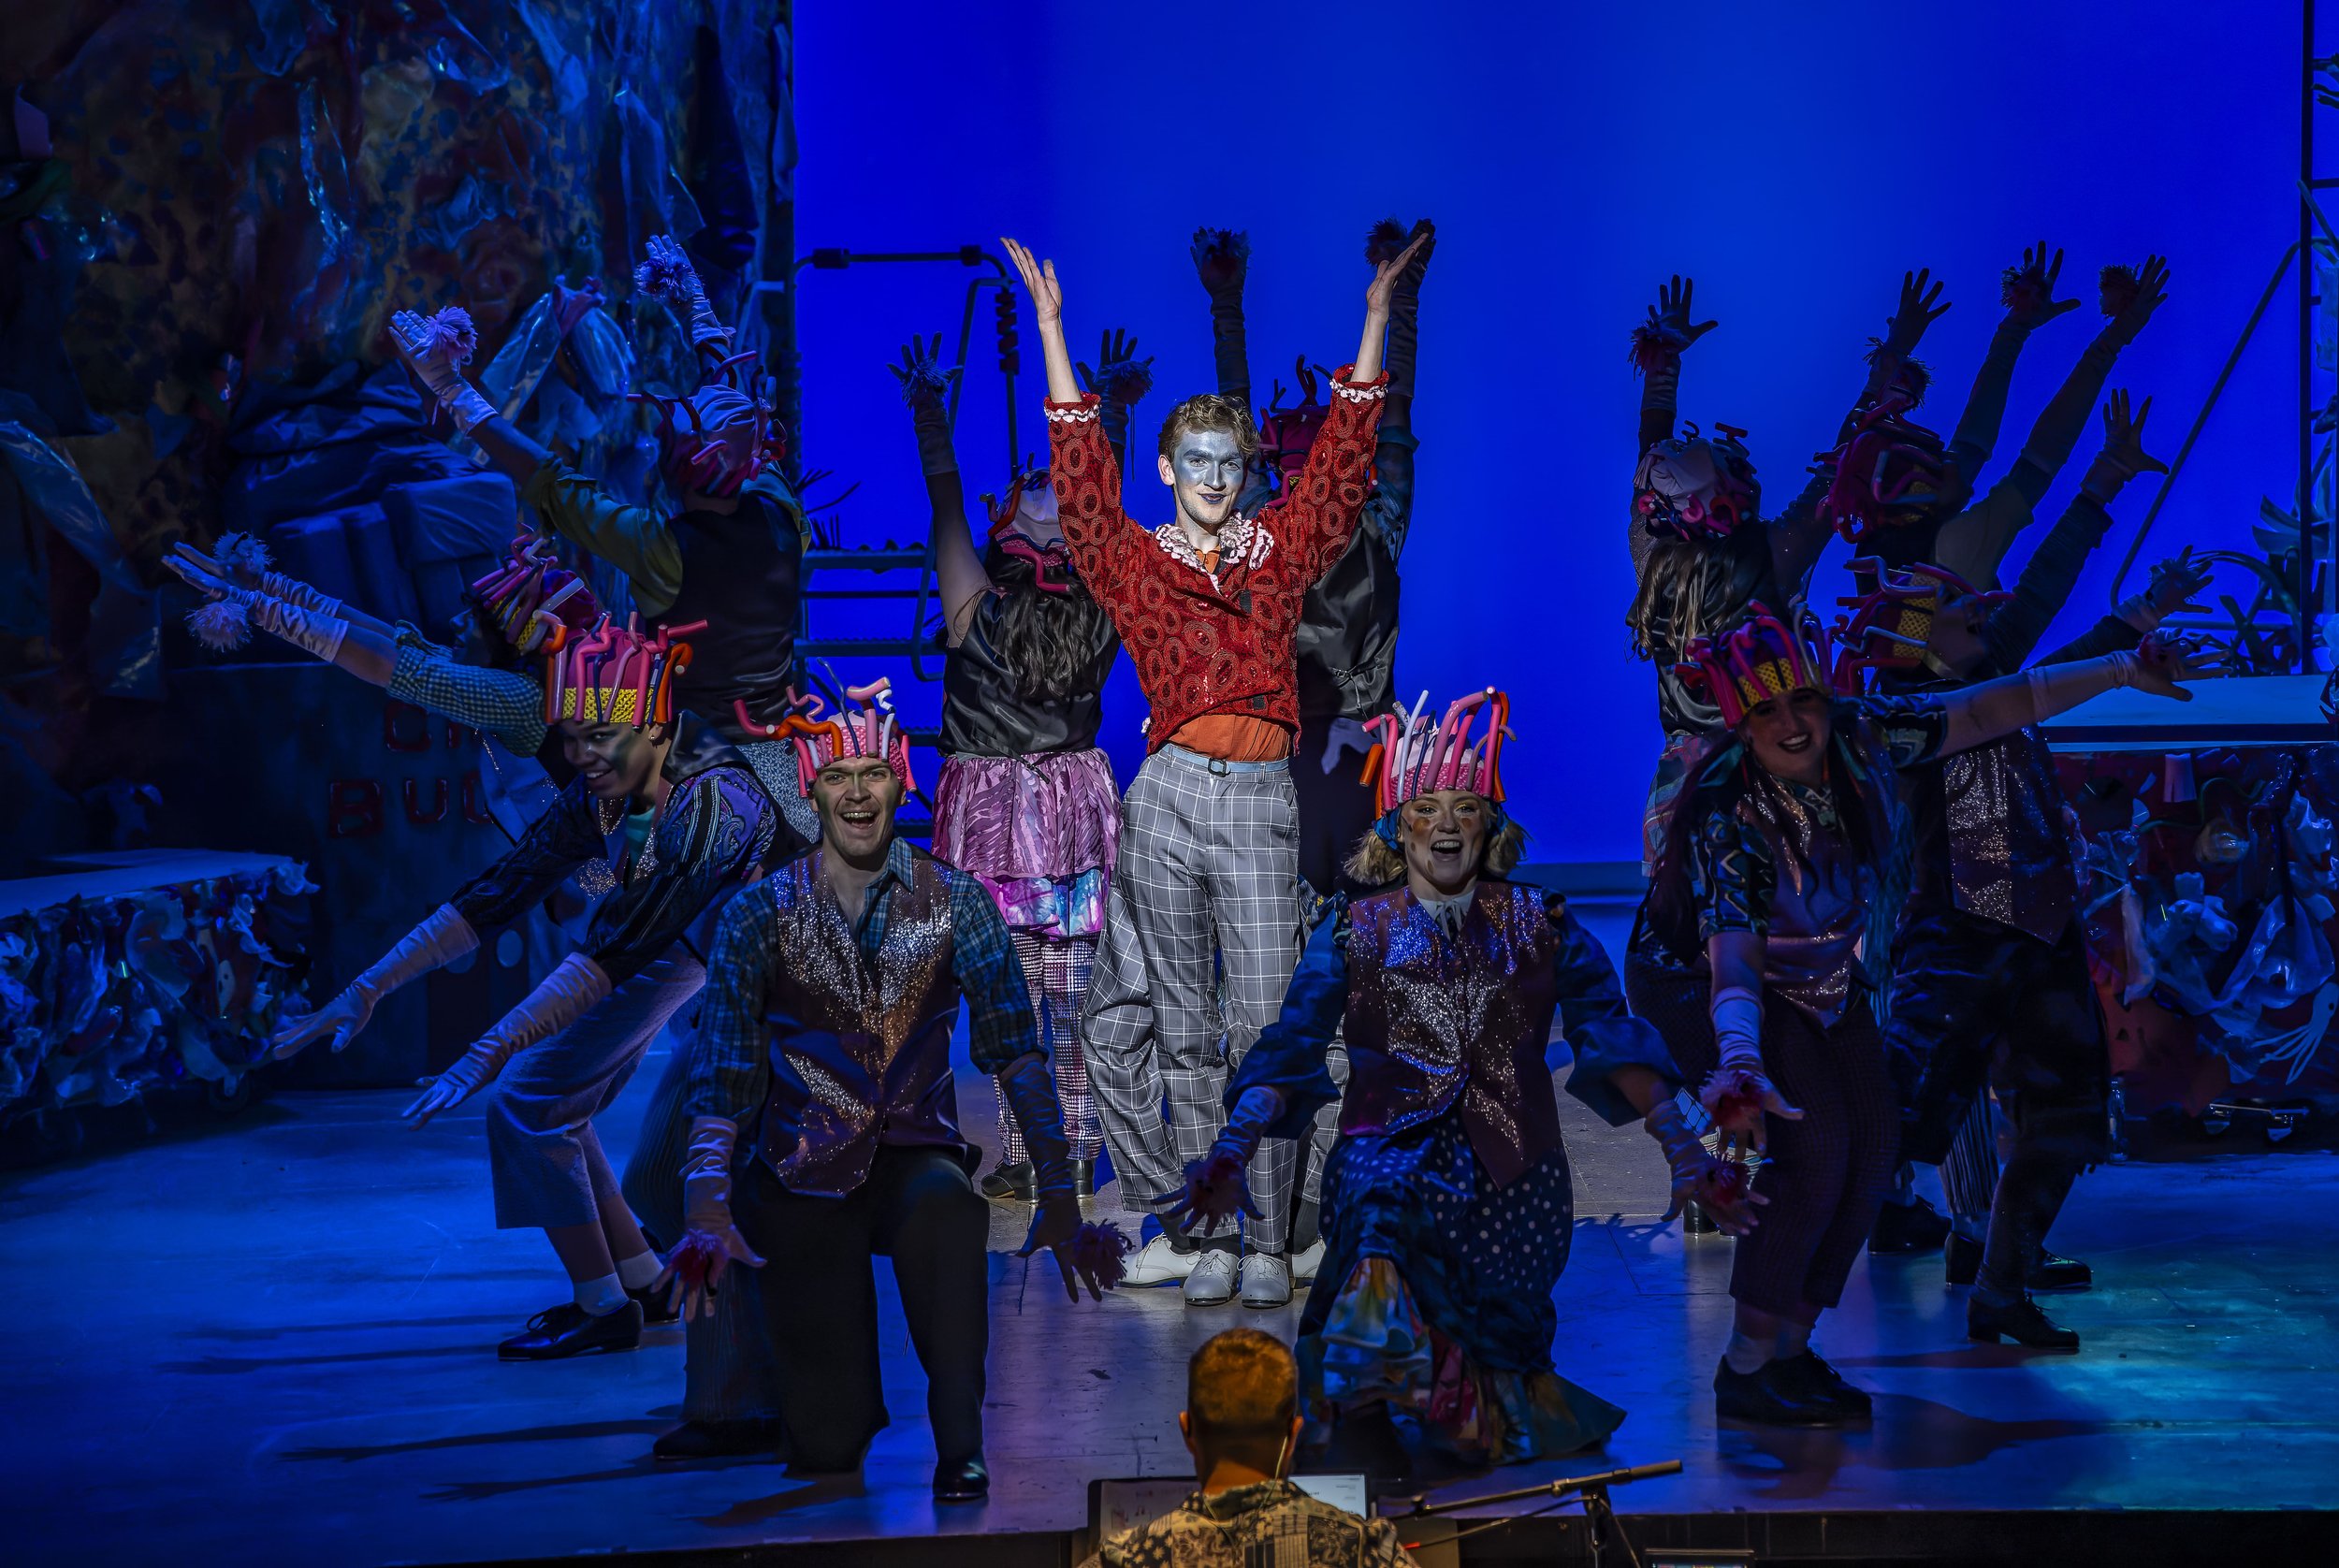
IN PERFORMANCE
Photos by Richard Finklestein